Sprinkler winterization in Van Alstyne TX is the proactive approach every homeowner and property manager should prioritize to protect irrigation systems from the unpredictable cold snaps that can damage pipes, valves, and sprinkler components.
Even in regions like Van Alstyne TX where extended deep freezes are less common than in northern states, sudden temperature drops can cause devastating freeze damage to expensive underground irrigation infrastructure.
In this comprehensive guide, we will explore why winterization is crucial, the optimal strategies for preparing your sprinkler system for winter, step‑by‑step best practices, common mistakes to avoid, the benefits of professional service, and how regular maintenance enhances system longevity and performance.
Why Sprinkler Winterization Matters in Van Alstyne TX
Irrigation systems are composed of many components—pipes, sprinkler heads, control valves, pumps, backflow preventers, and more. When water remains in these parts during freezing conditions, it expands and can lead to cracks, breaks, and complete system failure. Unlike surface plants that may recover from frost, underground irrigation infrastructure is far more vulnerable. This makes winterization a necessary safeguard against:
- Pipe Burst and Valve Damage: Water expands when frozen, creating pressure capable of splitting PVC and polyethylene pipes.
- Sprinkler Head Breakages: Parts that stick above the soil line are especially prone to freeze damage.
- Control System Failures: Electrical components and control valves may short circuit or malfunction if exposed to cold moisture.
Winterization not only prevents damage but also saves installation costs, emergency repairs, and water waste from undetected leaks that occur after a freeze.
Van Alstyne TX Weather Patterns and Freeze Risks
Van Alstyne experiences a subtropical climate influenced by North Texas conditions. While prolonged severe freezes are rare compared to northern states, cold fronts and unusual weather events do occur, especially during late fall and early spring. When temperatures dip below freezing (32°F or 0°C), unattended water in irrigation systems can freeze rapidly, making winterization a time‑sensitive priority.
The risk is compounded by these factors:
- Cold Air Drainage: Cooler air settling into lower landscape areas can freeze irrigation lines before surrounding areas.
- Microclimates: Shaded areas under trees and near buildings are more prone to freezing conditions.
- Late Irrigation Runs: Running your sprinkler late into fall without winterization increases the volume of water at risk.
Understanding local weather trends and planning accordingly can significantly reduce risk exposure.
Core Elements of an Effective Winterization Plan
1. System Shutdown
The very first step in winterizing your sprinkler system is a complete shutdown. This stops additional water from entering the system. It’s vital to:
- Turn off the irrigation controller or timer to prevent scheduled watering.
- Shut off the main water supply to the sprinkler system.
- Check for and record any system leaks prior to draining.
This prevents unnecessary stress and damage during the draining process.
2. Drainage Techniques
Once the system is shut down, all remaining water must be removed. There are three primary methods:
Manual Drainage
This involves opening drain valves and allowing water to escape naturally. While simple, it can leave residual water in low points.
Automatic Drain Valves
Some systems are equipped with automatic drain valves that release water when pressure drops. These require less manual intervention but still need monitoring.
Blow‑Out Method
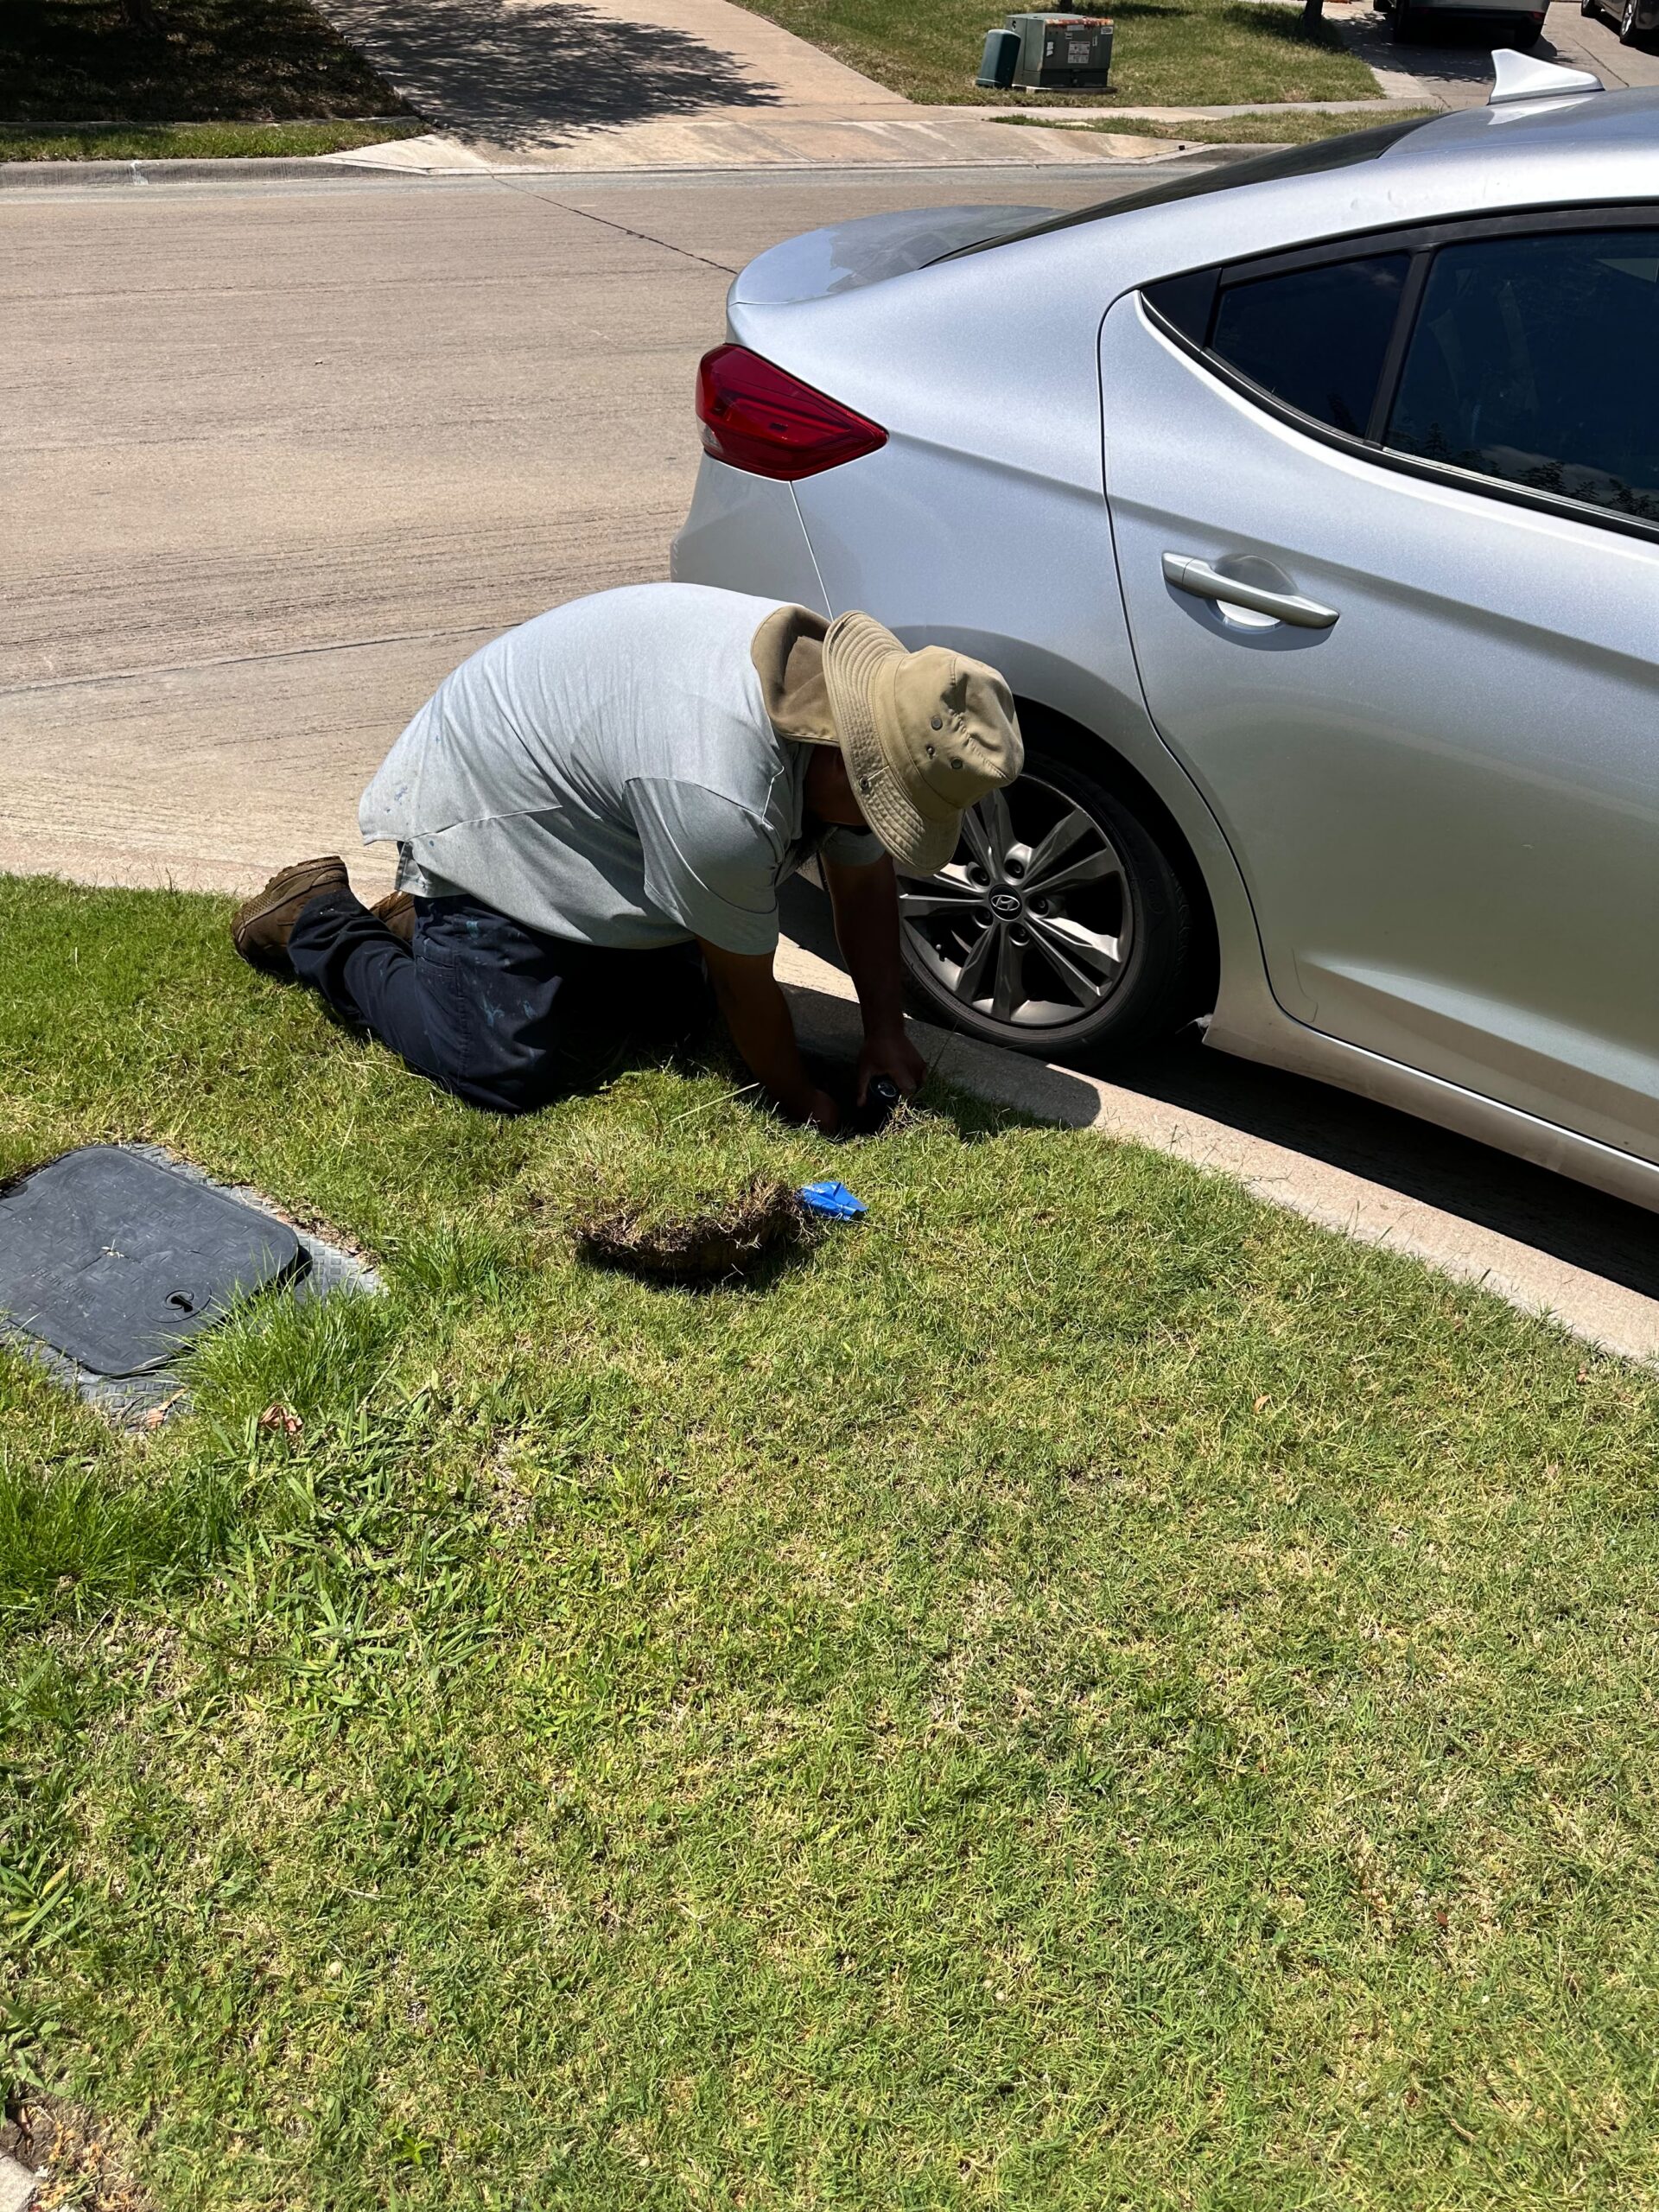
The most effective technique uses compressed air to force all water out of pipes and components. It’s highly recommended for complete winterization but should be performed by professionals to avoid over‑pressurization and damage.
Step‑by‑Step Sprinkler Winterization Process
Below is a detailed process you can follow to winterize your sprinkler system effectively:
Step 1: Turn Off the Water Supply
Locate the shutoff valve for your irrigation system and turn it off completely. This isolates the sprinkler system from the home’s water supply.
Step 2: Disable the Controller
Set the controller to the “off” or “rain mode” setting to prevent it from activating zones during winterization.
Step 3: Relieve Pressure
Open the system’s manual drain valves to relieve remaining pressure. If automatic drain valves are present, ensure they are functioning properly.
Step 4: Blow‑Out Residual Water
Using a licensed professional or quality air compressor, blow out the system zone by zone, starting with the zone closest to the controller and moving outward. It’s critical that air pressure does not exceed manufacturer recommendations to prevent damage. The EPA provides insights into irrigation system care that include winter maintenance best practices at EPA Outdoor Water Use.
Step 5: Open Backflow Preventer
If your system has a backflow prevention device, open or remove the test cocks and drain all water. This device is especially susceptible to freeze damage and often requires individual attention.
Step 6: Insulate Above‑Ground Components
Wrap and insulate any above‑ground elements like valves, pump housings, and backflow preventers to protect them from cold conditions.
Step 7: Final Inspection
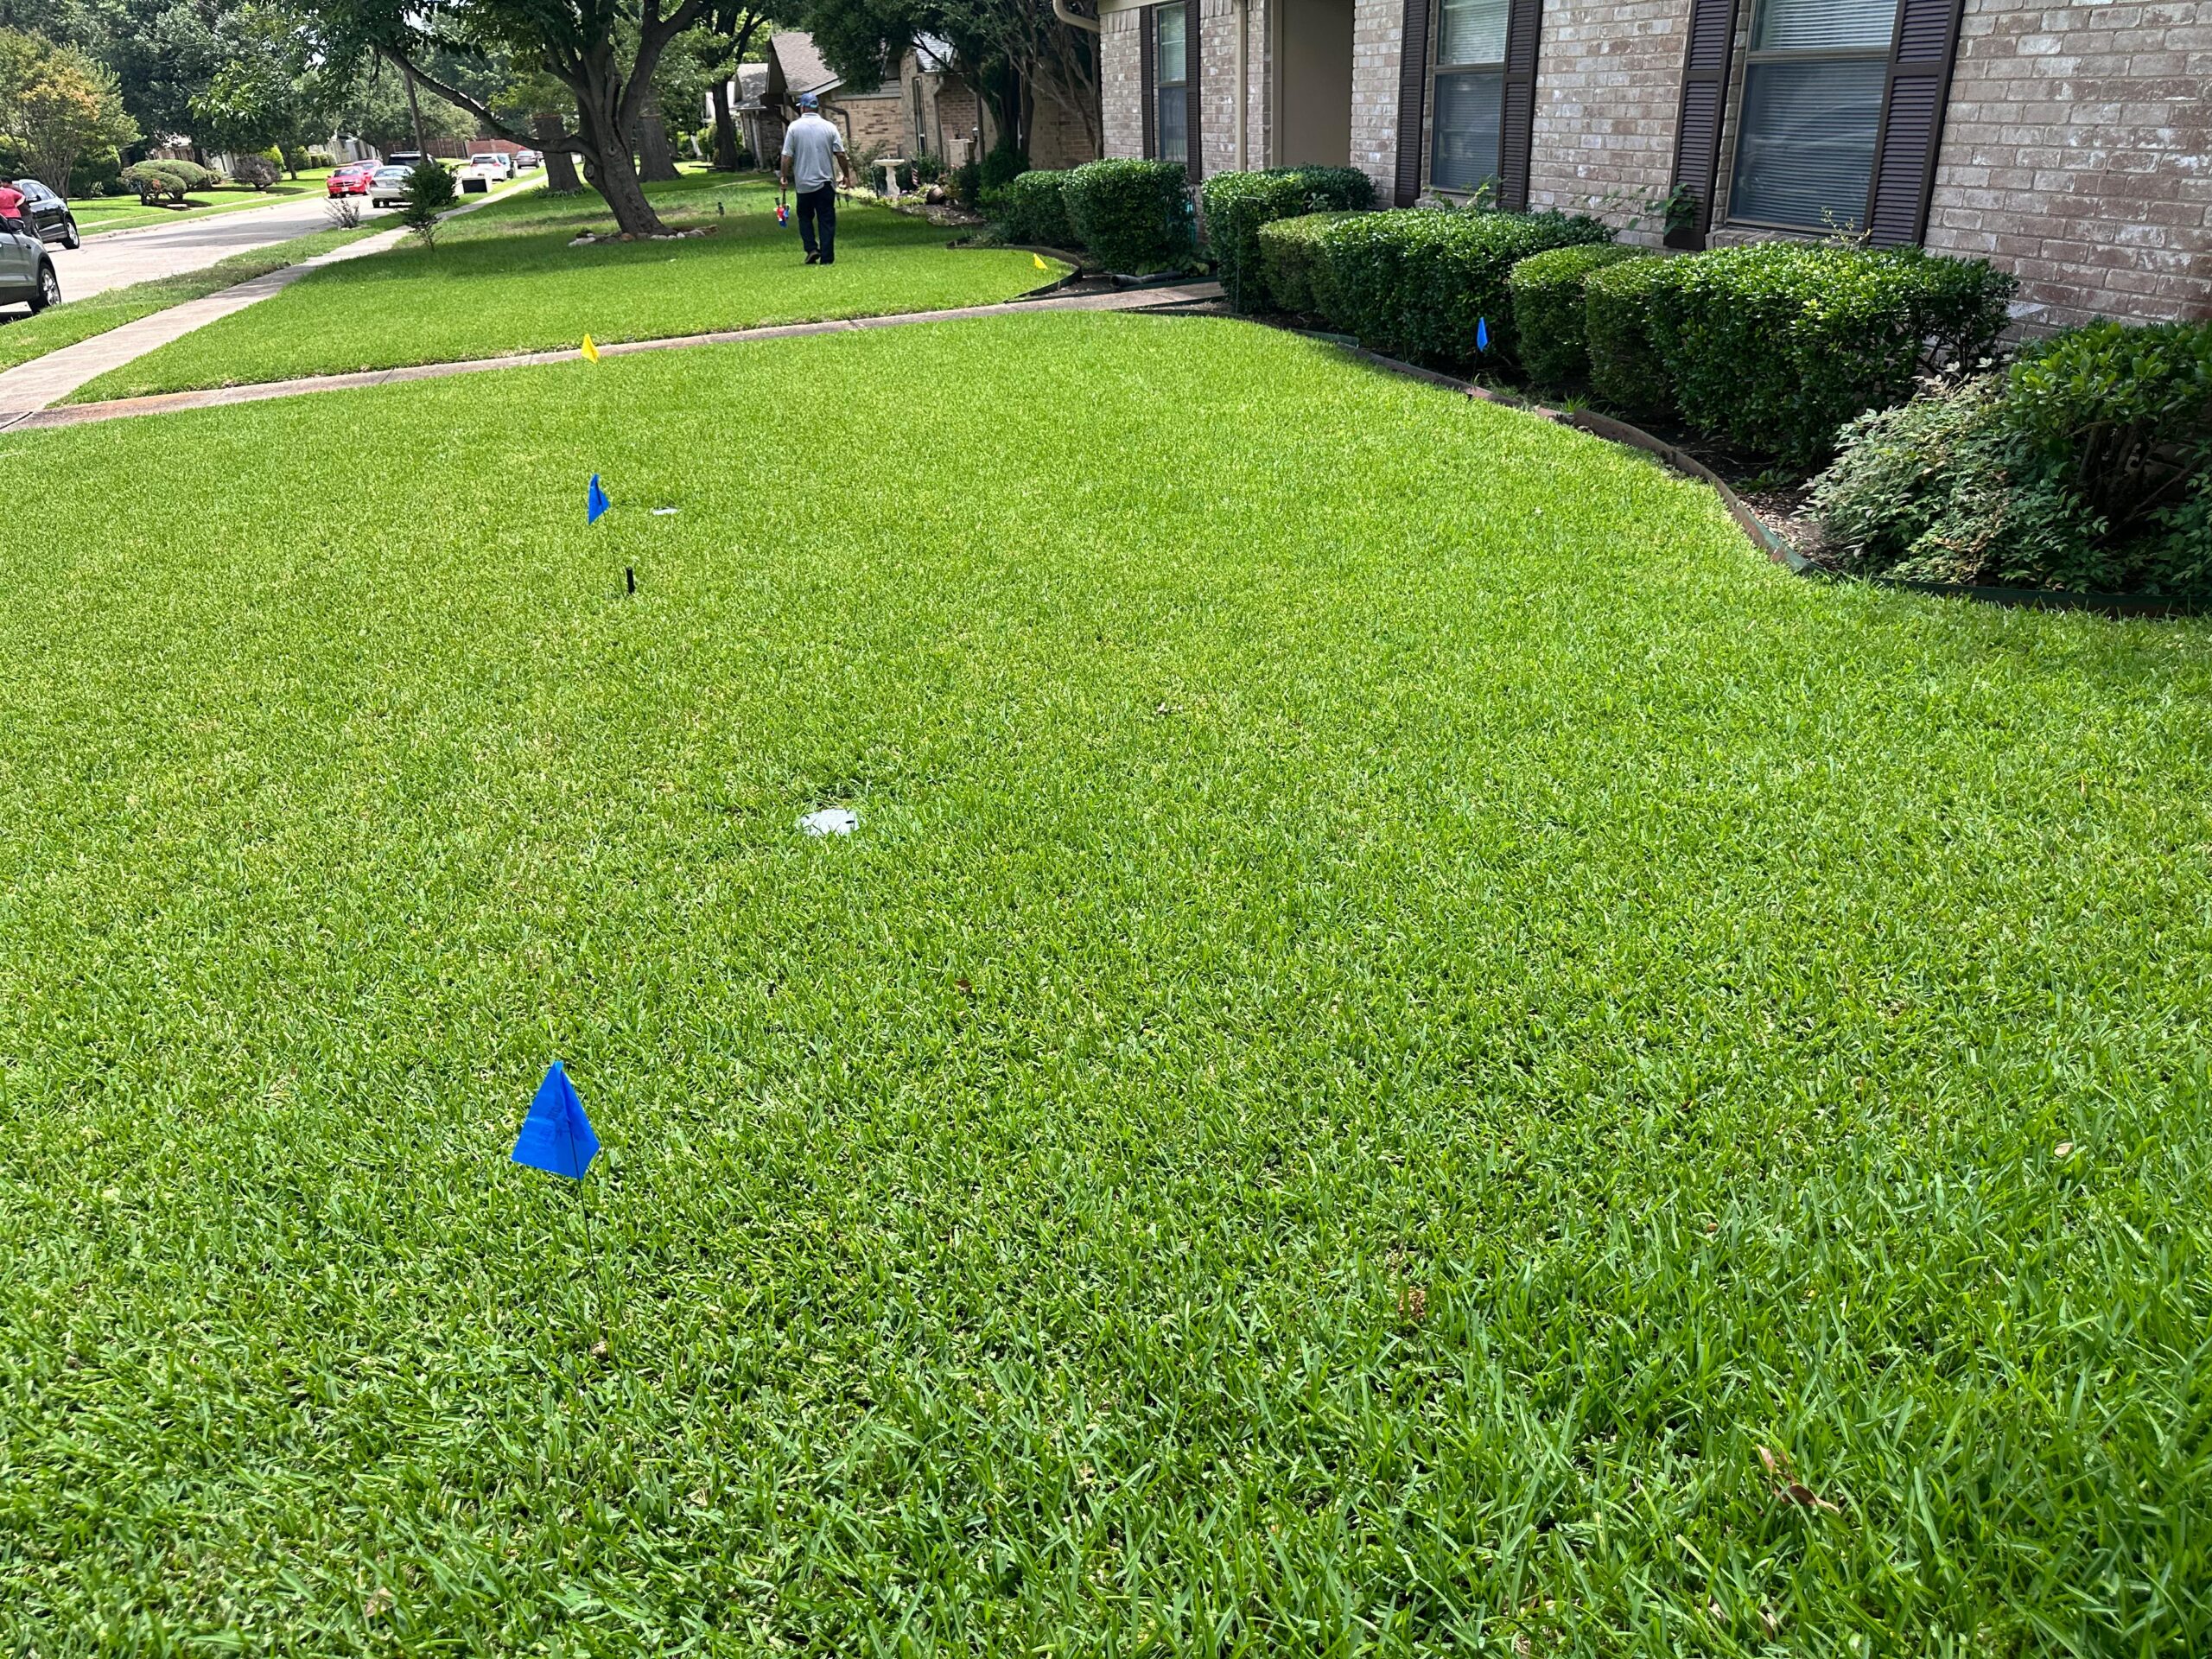
Conduct a final walkthrough to confirm all water is drained and components are properly shut down. Make note of any parts that may need repair or replacement before spring.
Common Mistakes to Avoid
While winterization can seem straightforward, certain missteps can lead to costly damage:
• Skipping Professional Assistance
Many DIYers attempt winterization without the correct tools or experience. Improperly performed blow‑outs are a leading cause of irrigation line damage.
• Leaving Water Trapped in Low Points
Gravity causes water to settle in low sections of the irrigation layout. Failure to fully drain these spots can result in freeze damage.
• Ignoring Backflow Preventers
Backflow devices are often overlooked but represent one of the most expensive parts of a sprinkler system to replace if damaged.
• Winterizing Too Early or Too Late
Timing matters. Winterize too early and you may miss necessary fall irrigation; too late and freezing weather may already be causing damage.
Benefits of Professional Winterization Services
Hiring a qualified irrigation professional offers peace of mind and ensures your system is properly prepared for winter. Professional services provide:
- Expertise in system assessment and leak detection
- Proper use of air compressors and pressure monitoring
- Insulation of sensitive components
- Documentation of system condition and recommendations for spring servicing
According to the Texas A&M Agrilife Extension, proper irrigation maintenance, including winterization, supports plant health and system longevity—saving water and reducing long‑term costs Texas A&M AgriLife Extension.
Seasonal Maintenance Beyond Winterization
Winterization should be part of a larger annual maintenance routine that includes:
• Spring Startup
After winter, your system should be reactivated carefully. Professional startups involve pressure testing, valve and controller checks, and system calibration for optimal watering schedules.
• Mid‑Season Inspections
Inspecting your system in spring and summer helps catch leaks, clogged nozzles, and inefficient watering that can contribute to wasted water and higher utility bills.
• Rain Sensor and Soil Moisture Management
Adding advanced sensors helps your system respond to actual conditions, conserving water. Integrating smart irrigation technology can further reduce waste and cost.
How Winterization Saves You Money
It’s easy to view winterization as optional—until something goes wrong. Investing time or money into proper winter preparation delivers financial returns by preventing:
- Pipe and sprinkler head replacements
- Backflow preventer repairs
- Water loss from broken lines
- Landscape damage requiring replanting
- Emergency service calls during cold weather events
In the long run, preventive care is more cost‑effective than reactive repair.
How to Choose the Right Irrigation Winterization Service
Selecting a reliable winterization provider is essential. Consider the following:
• Experience and Certifications
Choose companies with specific experience in irrigation systems and proper certifications from industry organizations.
• Reviews and References
Online reviews and customer testimonials give insight into reliability and service quality.
• Transparent Pricing
A reputable provider will offer clear, upfront pricing without hidden fees.
• Service Guarantees
Look for warranties or guarantees that protect you if damage occurs after service.
Final Checklist for Sprinkler Winterization in Van Alstyne TX
Before winter arrives, work through this checklist:
✔ Turn off controller and water supply
✔ Drain all zones thoroughly
✔ Blow out system with compressed air
✔ Insulate above‑ground components
✔ Open and drain backflow preventer
✔ Monitor local weather and timing
This checklist helps ensure you don’t overlook critical steps that protect your system.
Conclusion
Protecting your irrigation investment starts with proper sprinkler winterization in Van Alstyne TX. Taking the time to prepare your system for seasonal changes can prevent costly repairs, extend the life of your irrigation components, and ensure your landscape thrives year after year. For reliable service and expert winterization solutions, trust Whale Done Sprinklers & Irrigation. Contact them at +1 (469) 384‑7767 or email clientsupport@callwhaledone.com for professional assistance today.