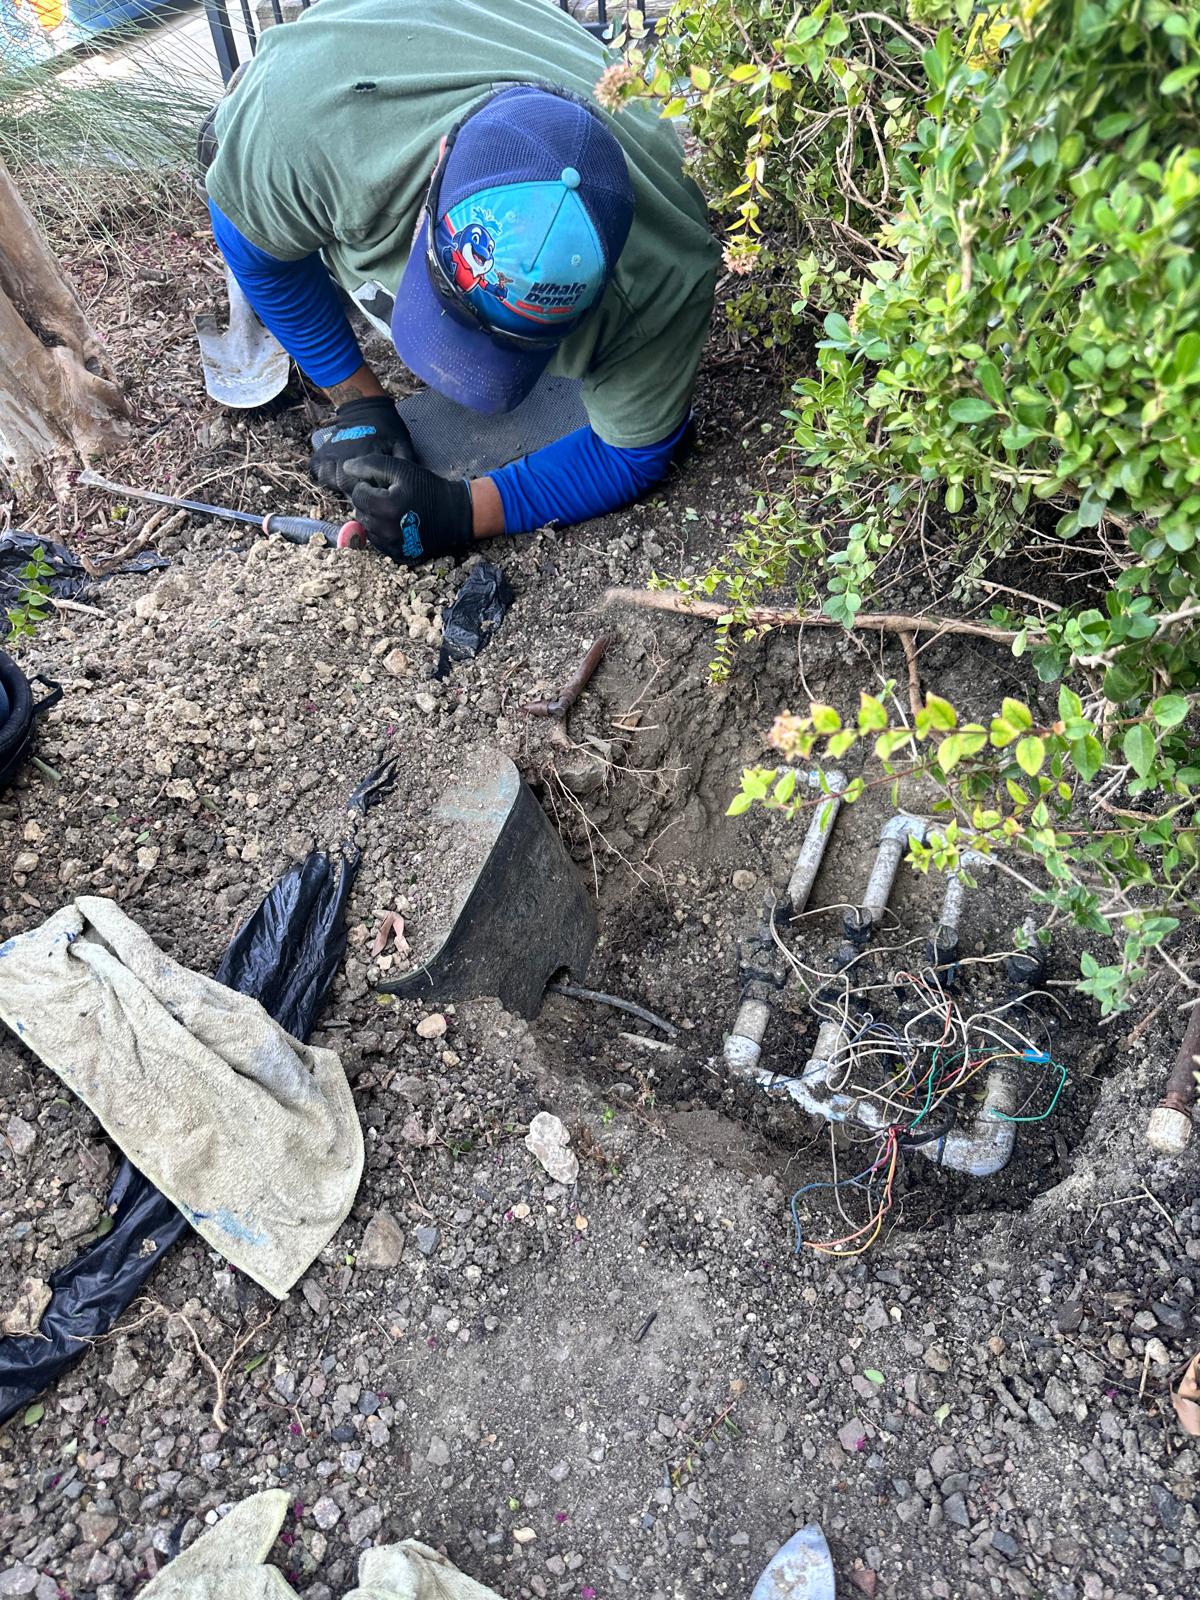
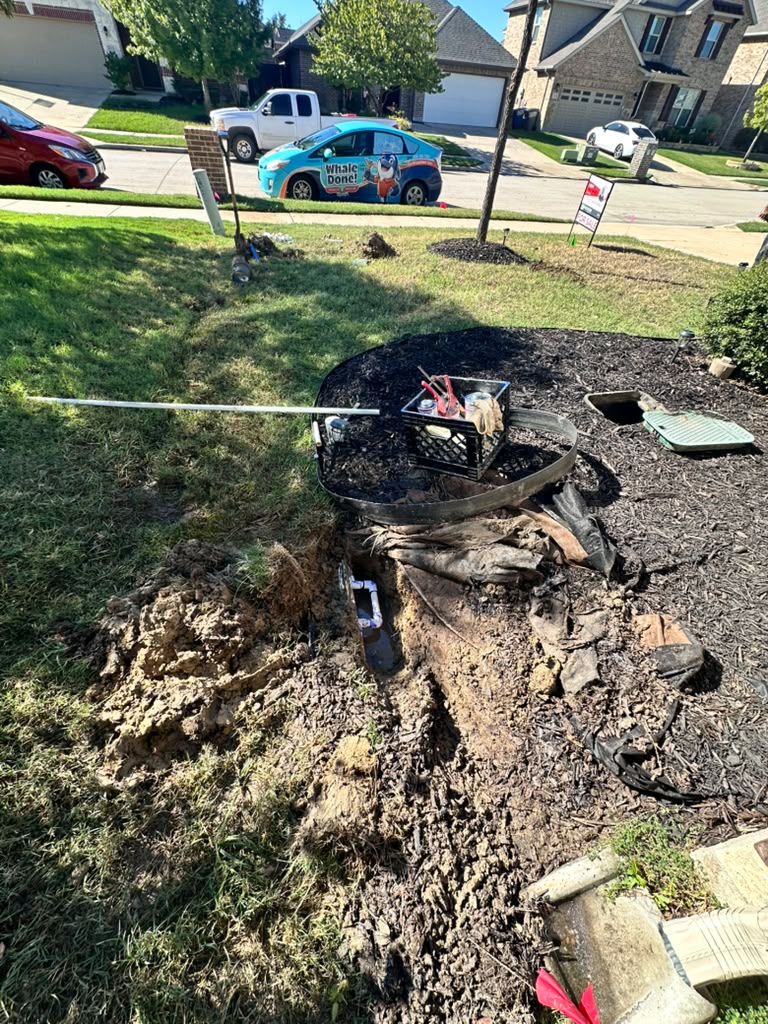
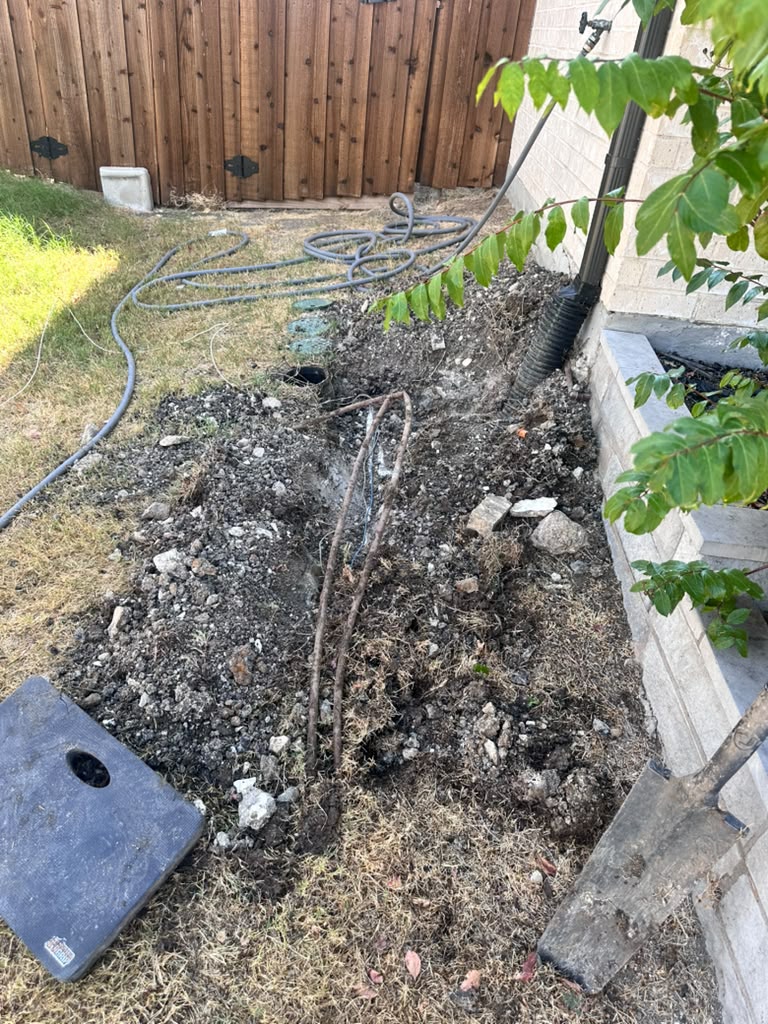
Sprinkler rain sensor problems in Lucas TX usually come from a controller setting, a wiring issue, or a dirty or blocked sensor, so check those before replacing anything. Start at the controller. Look for a rain delay or sensor message, and confirm the bypass switch is set correctly.
Then inspect the sensor itself for debris, a poor mounting spot, or damaged wire. Many sensors work fine, and the real cause is a setting. If the system runs in the rain, or never runs at all, a licensed sprinkler company can test the circuit before swapping parts.
At a Glance
- Difficulty: Easy (visual checks and the bypass switch); moderate to advanced (wiring tests)
- Estimated Time: 20-45 minutes for the basic checks
- Tools Needed: Controller manual, sensor manual, ladder, screwdriver, phone camera, flashlight
- Works For: Systems that run during rain, systems that won’t start, and controllers that show a sensor message
- May Not Solve : Broken wires underground, failed controllers, valve problems, or incompatible sensor types
What a Rain Sensor Does
A rain sensor tells your controller to skip watering after rain. It doesn’t measure rainfall like a weather station. It simply opens or closes a small electrical circuit when it gets wet or dry.
Most common sensors use small discs that swell with water. When they swell, they interrupt the signal that tells the valves to open. As the discs dry out, the signal returns and watering resumes.
Your controller may show a red light or an umbrella icon when the sensor is holding watering back. That message is normal after rain. It’s a problem only when the weather has been dry for days.
Why Rain Sensors Fail
Rain sensors are simple, but they sit outside all year. Heat, debris, insects, and shifting soil all take a toll over time.
Here are the most common causes of trouble:
- A controller setting that ignores the sensor or keeps it active
- A bypass switch left in the wrong position
- Dirt, leaves, or nests blocking the sensor
- A sensor mounted where rain can’t reach it, or where sprinklers hit it
- Loose, corroded, or cut wires
- A weak or dead battery in a wireless model
- A sensor that doesn’t match the controller
Notice how few of those require a new sensor.
What to Check First for Sprinkler Rain Sensor Problems in Lucas TX
Work from the controller outward. It’s the fastest path, and it keeps you from replacing a part that works.
The order matters:
- Controller settings and messages
- Bypass switch position
- Sensor condition and location
- Wiring and connections
- Battery or transmitter (wireless models only)
Each step rules out a cause. If you reach a step that explains the problem, stop there.
Step-by-Step: How to Troubleshoot Your Rain Sensor
Step 1: Read the Manuals
Find your controller manual and your sensor manual. Many manuals are available online by model number.
Look for how the sensor connects, whether it’s wired or wireless, and what the sensor setting should be. Wiring details differ between models, so a general guide won’t always match your system.
Step 2: Check the Controller
Look at the display. A sensor-off or rain-delay message means the controller thinks it’s wet. Check that the sensor setting is on, since many controllers let you turn sensor control on or off for the whole system.
Also check for a rain delay set by accident. A delay of several days looks a lot like a sensor failure.
Step 3: Find the Bypass Switch
Most controllers have a bypass switch. When it’s set to bypass, the controller ignores the sensor, so the system will run in the rain.
Set it to active, run a zone, and see what happens. If the zone starts only when the switch is set to bypass, the sensor or its wiring needs a closer look.
Step 4: Inspect the Sensor
Find the sensor. It’s often on a fence, roofline, or post. You may need a ladder.
Look for these things:
- Leaves, dirt, spider webs, or wasp nests
- Cracks or sun damage
- A mounting spot under a tree, eave, or overhang
- Sprinkler spray hitting the sensor
- Wire that’s loose, chewed, or pulled from the housing
Clear any debris and aim for an open spot that gets rain.
Step 5: Test the Sensor by Hand
Many models have a spring-loaded spindle on top. While a zone is running, you can press and hold that spindle to see if the system shuts off. If it does, the sensor and controller are communicating.
If nothing happens, note it and move on. That’s useful information for a technician.
Step 6: Check Wires and Connections
With the controller powered down, look at the terminals where the sensor wires connect. Loose or corroded wire is a common cause of trouble. Check outdoor splices for moisture damage as well.
Only go further if you’re comfortable working around low-voltage wiring. Otherwise, take photos and stop here.
What a Technician Tests Before Replacing Anything
A good diagnosis follows a sequence. Replacing parts is the last step, not the first.
A licensed technician will typically:
- Review the manuals and wiring. They confirm the sensor type is compatible with the controller.
- Check the controller setup. They look at sensor settings, rain delay, and the bypass switch.
- Test the controller on its own. They may bypass the sensor to see if the controller runs the zones normally.
- Test the sensor circuit. A meter or a temporary connection at the sensor terminals can show whether the circuit opens and closes the way it should.
- Test the sensor itself. They check it dry and wet, or by pressing the spindle, to see whether it responds.
- Trace the wire. They look for breaks, corroded splices, or damage along the run.
- Check a wireless transmitter and battery. Weak batteries and range issues cause odd behavior.
Only then do they decide what to replace. Sometimes it’s the sensor. Sometimes it’s a splice. Sometimes it’s a setting.
Common Mistakes Homeowners Make
Most rain sensor mistakes happen because the problem looks bigger than it is. Here are the ones to avoid:
- Replacing the sensor first. Check settings and wiring before buying parts.
- Leaving the bypass switch on. The system will keep running in the rain.
- Mounting the sensor in the wrong place. Trees, eaves, and spray can all interfere.
- Ignoring the manuals. Wiring and settings vary by model.
- Buying an incompatible sensor. Make sure it matches your controller.
- Assuming a sensor message means a failure. It may just be holding off after rain.
North Texas Considerations for Lucas Homeowners
Lucas has larger lots, mature trees, and plenty of room between the controller and the sensor. Those details affect how rain sensors perform.
Trees and Mounting Location
Trees are a common problem in Lucas. Branches can block rain from reaching the sensor, and falling debris can clog it. A sensor tucked under a roofline may never get wet.
Longer Wire Runs
On bigger properties, the wire between the sensor and controller can be long. More distance means more places for a splice to fail. Wireless sensors help, but they depend on range and battery life.
Heat, Sun, and Wind
Texas summers are hard on outdoor equipment. Sun can crack plastic housings, and heat can dry out sensor components faster than expected. Wind can also scatter debris onto the sensor.
Clay Soil and Shifting Ground
North Texas clay moves as it swells and shrinks. That movement can stretch buried wire or loosen connections. Check wire near fence posts, trenches, and bed edges.
Rules and Seasonal Watering
Rain and freeze sensors play a role in water conservation across Texas, and many systems are required to have one. Check the Texas Commission on Environmental Quality for current irrigation rules, and confirm any local watering restrictions with your water provider. In fall and winter, a working sensor helps keep you from watering lawns that don’t need it.
Related Problems That Look Like Rain Sensor Failure
A system that won’t start or won’t stop isn’t always a sensor problem. Before you blame the sensor, consider these:
- Controller programming errors: Wrong start times, a rain delay, or a paused schedule
- Controller failure: A damaged board or display
- Valve problems: A stuck valve can run when it shouldn’t, or stay closed when it should open
- Transformer or power issues: No power means no watering
- Wiring faults: A broken common wire can stop several zones
- Seasonal adjustments: The schedule may be turned off for the season
Our guides on sprinkler controller repair and sprinkler valve repair cover several of these.
Frequently Asked Questions
Why does my sprinkler system run when it’s raining?
The bypass switch may be set to ignore the sensor, or the sensor setting may be off. The sensor could also be blocked, mounted in a dry spot, or disconnected. Check the controller first.
Why won’t my sprinklers turn on even though it hasn’t rained?
The controller may still show a rain delay or sensor message. A stuck sensor, shorted wire, or sensor that stays wet can also hold watering back. Try the bypass switch to see if the zones run.
How do I test a rain sensor?
Run a zone and press the spindle on top of the sensor if it has one. The system should shut off. A technician may also test the circuit with a meter. Always check your sensor’s manual first.
Can I bypass my rain sensor?
Yes, for troubleshooting. The bypass switch lets the controller run without the sensor. Don’t leave it that way, since a working sensor helps prevent wasted water.
When should I call a licensed sprinkler company?
Call if the settings look right but the problem remains. Also call if you suspect damaged wire, a failed controller, or a compatibility issue. A licensed company can test the full circuit before replacing parts.
Bottom Line and Next Step
Sprinkler rain sensor problems in Lucas TX often come down to settings, wiring, or a blocked sensor rather than a failed part. Check the controller, bypass switch, and sensor placement first. If you’ve done that and the problem remains, Whale Done can test the full circuit before recommending any replacement. Call us or visit callwhaledone.com to schedule a visit.