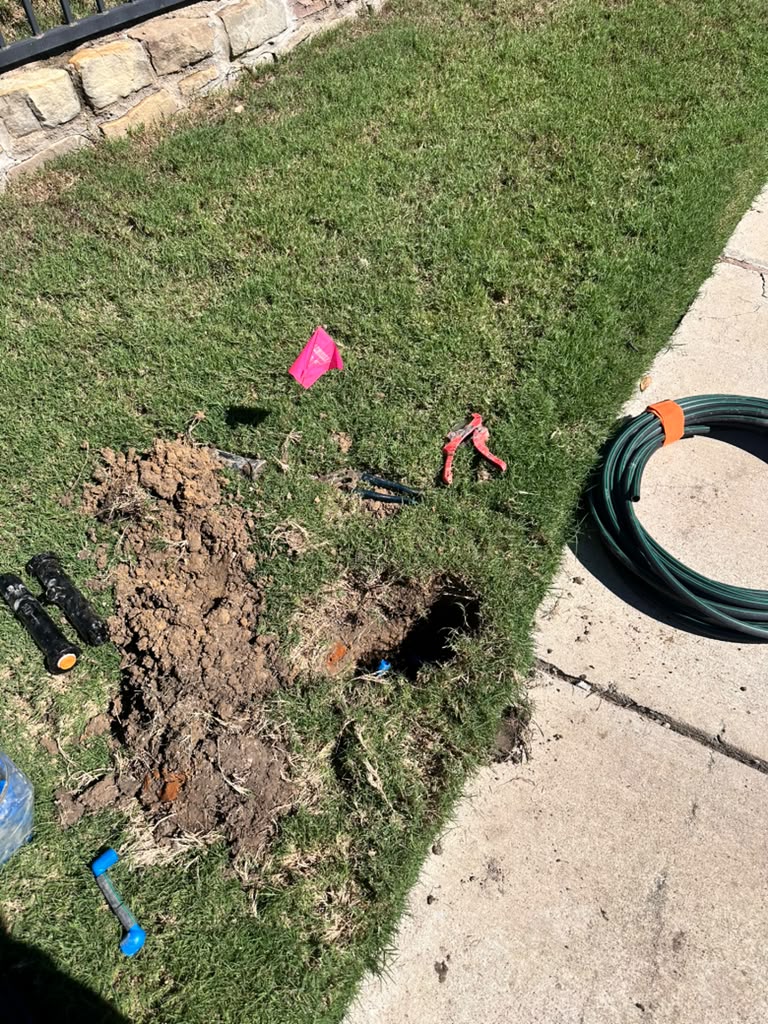
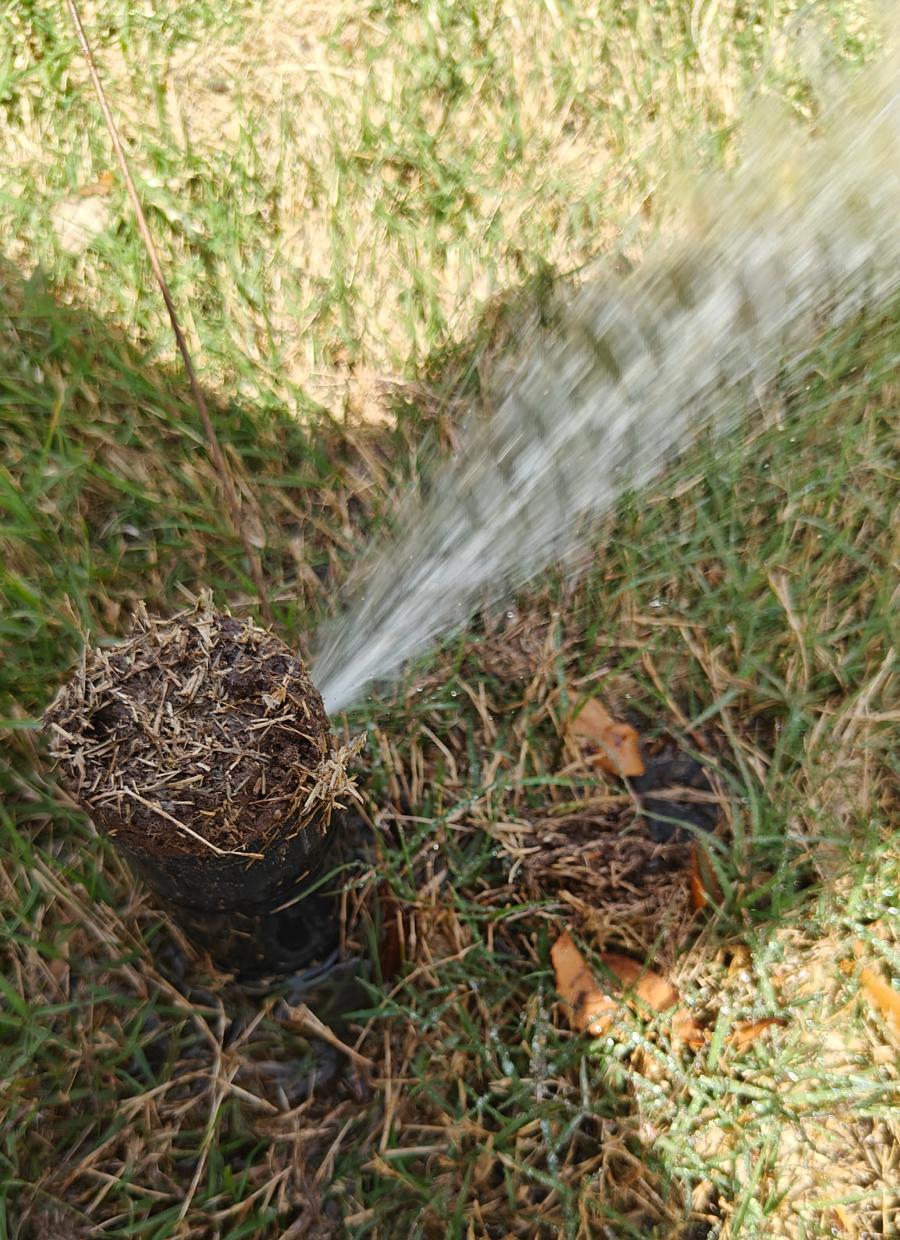
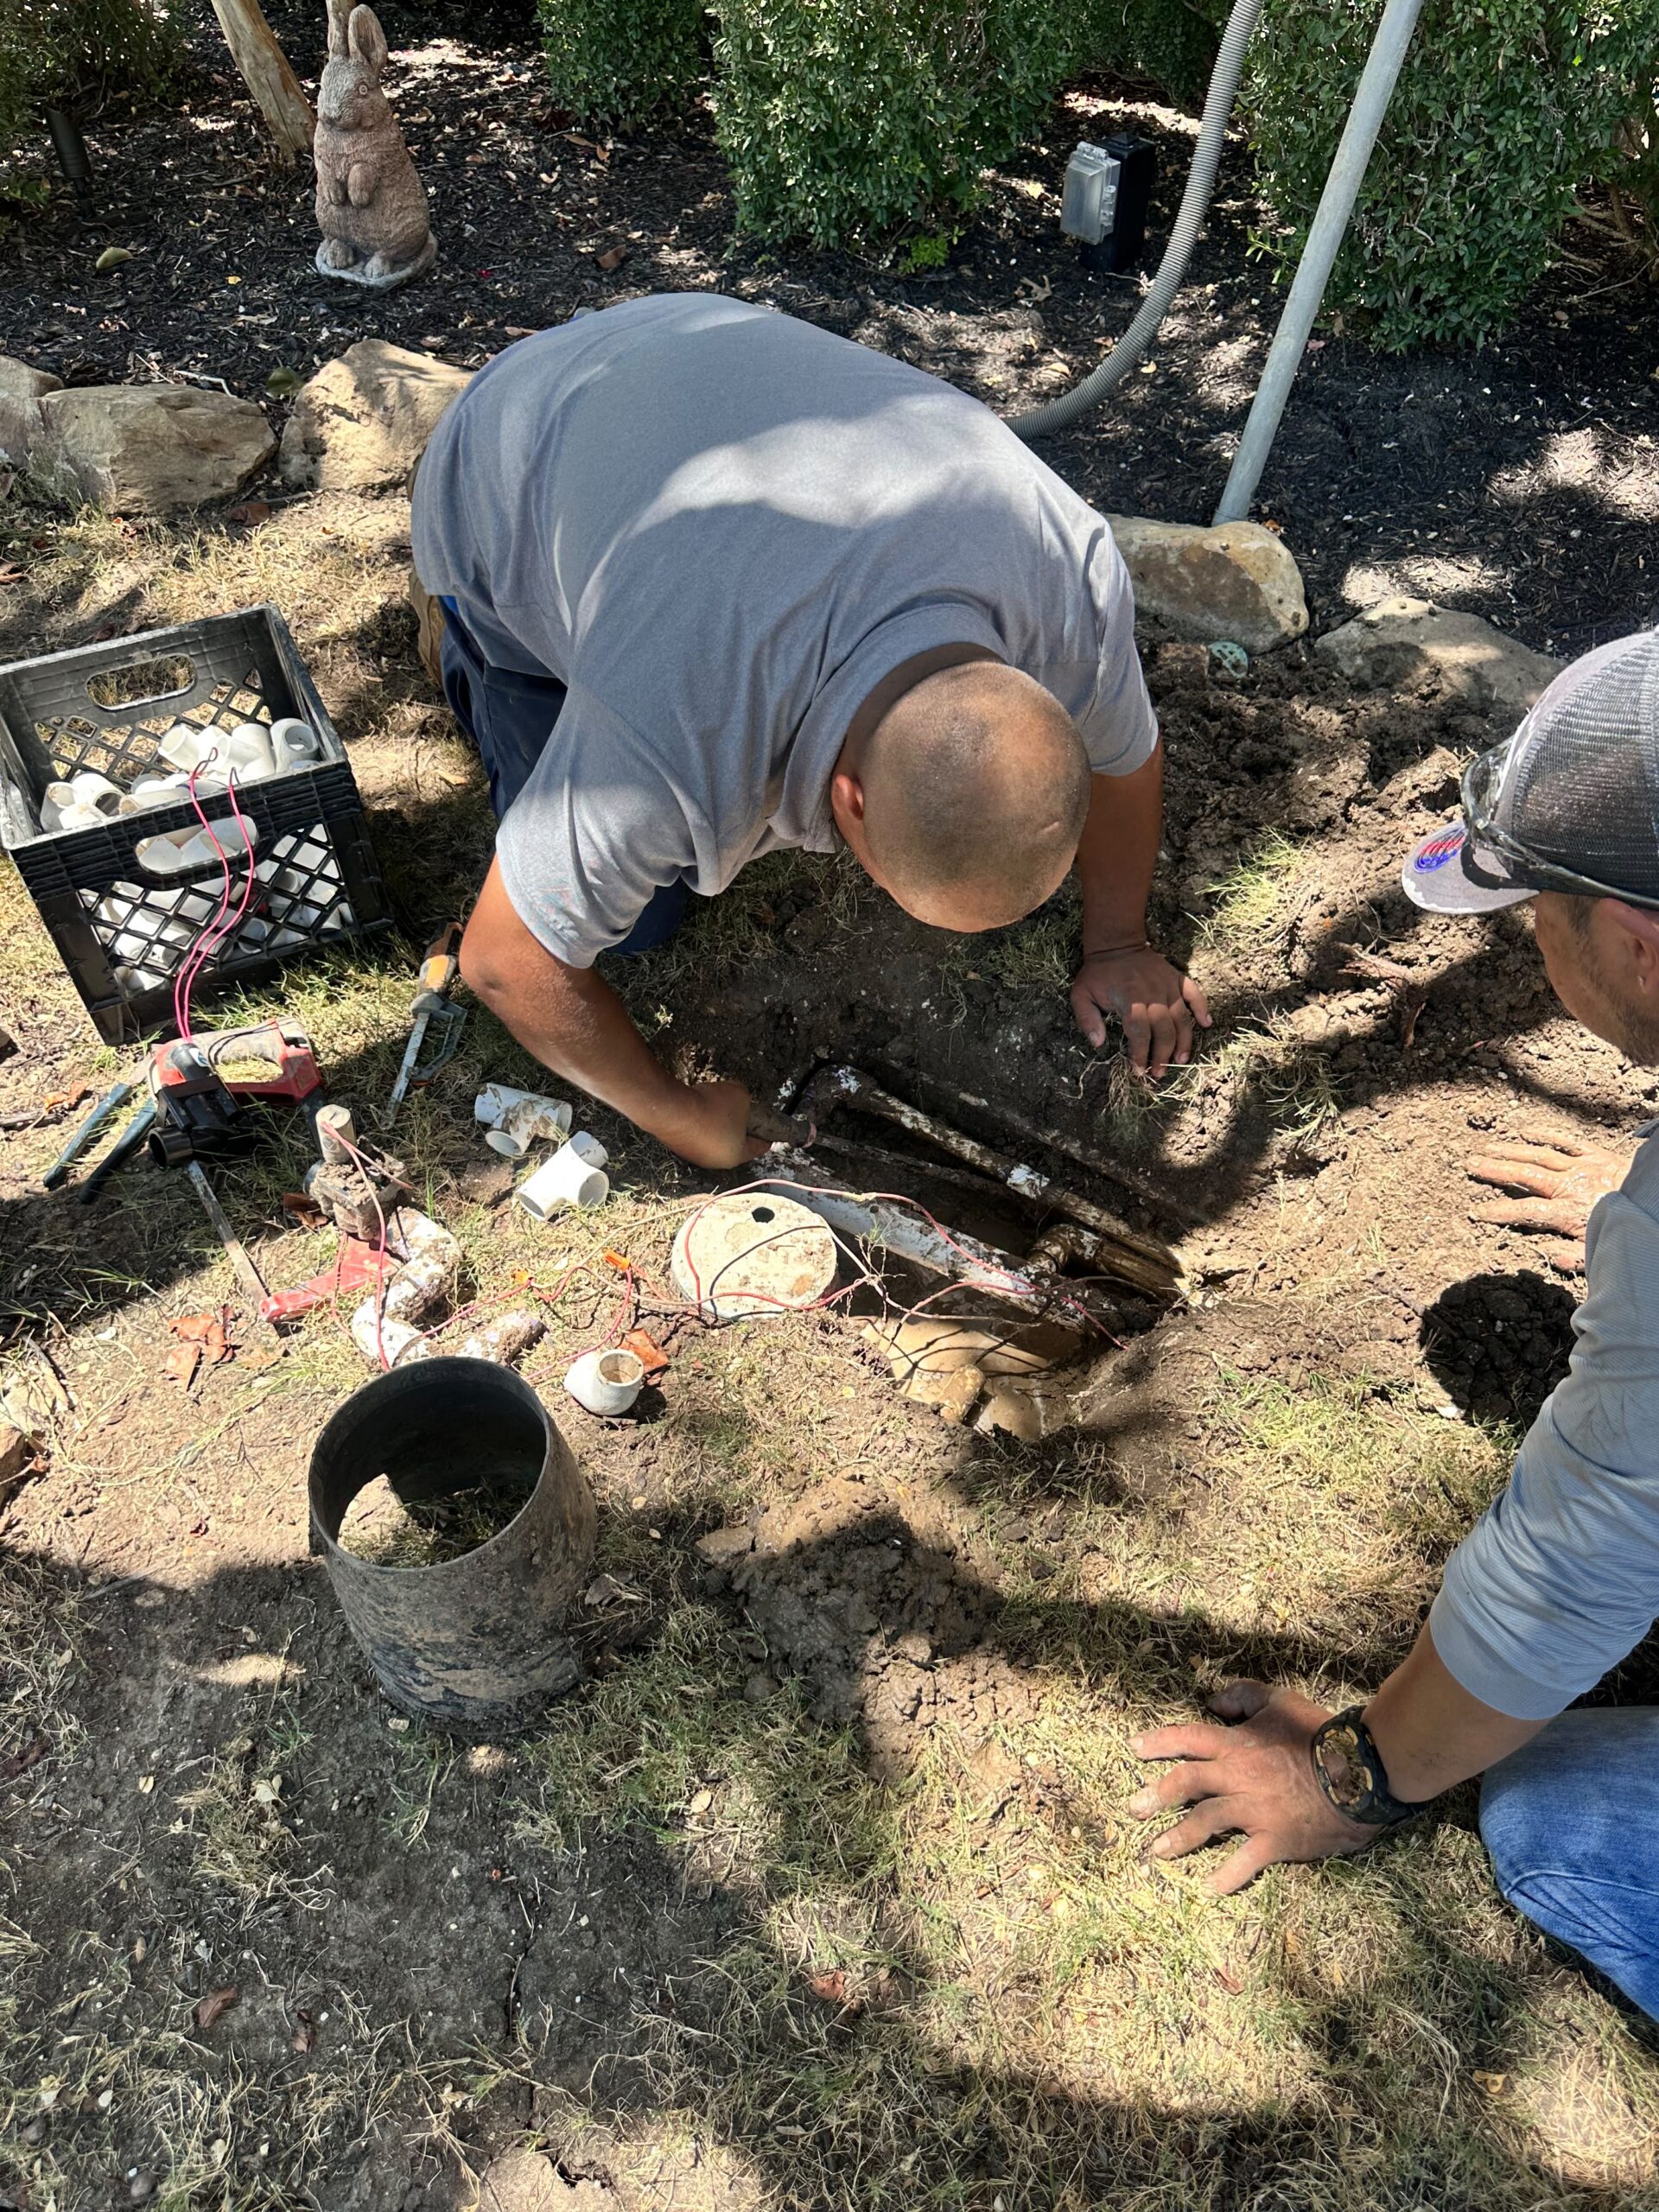
A sprinkler leak repair in Celina TX usually follows five stages: locating the leak, isolating the zone, exposing the damaged part, replacing or fixing it, and testing the zone afterward. The repair is not finished when the part is replaced. A technician runs the zone and checks pressure and coverage to confirm the problem is actually solved.
Fixing leaks before winter also matters. Leaks can leave water pooling around pipes, fittings, and valves, and that water can freeze. Repairs reduce that risk, but they cannot promise a system will never be damaged in a hard freeze.
At a Glance
| Difficulty | Spotting a leak: easy. Locating and repairing it: best left to a licensed professional |
| Estimated Time | Many repairs take 1–3 hours, depending on leak location and access |
| Tools Needed | Shovel, replacement parts, fittings, pipe tools, and a way to test the zone |
| Works For | Wet spots, low pressure, broken heads, cracked fittings, and valve leaks |
| May Not Solve | Older pipe wear throughout the system, low city pressure, or freeze damage that hasn’t happened yet |
Signs You May Need a Sprinkler Leak Repair
Many leaks stay hidden underground. The yard and your water bill usually show the first clues.
Common signs include:
- Soggy or muddy spots when the system is off
- Grass that is greener or growing faster in one patch
- Weak or uneven spray from heads
- A zone that sputters or runs slowly
- Water bubbling up around a head or valve box
- A water bill that is higher than normal
Not every wet spot is a sprinkler leak. A dripping hose, a rain-soaked low spot, or a line from another source can look similar.
What Happens During Sprinkler Leak Repair in Celina TX?
Each repair is a little different, but a licensed technician generally works through the same steps. Knowing them helps you understand the visit and ask good questions.
The sections below walk through the process in order.
Step 1: Gather the History
The visit usually starts with a conversation. The technician wants to know what you have noticed.
Helpful details to share include:
- Which zone seems affected
- When the problem started
- Whether it happens only when the system runs
- Any recent digging, landscaping, or repairs
Even small details can save time. “The soggy spot appeared after the fence was replaced” is a useful clue.
Step 2: Locate the Leak
Finding the leak is often the hardest part. Water can travel along pipes or soil before it surfaces, so the wet spot is not always the exact break.
A technician may:
- Run each zone and watch for changes in pressure or flow
- Inspect heads, valve boxes, and fittings for visible damage
- Look at where water collects and trace it back
- Check the backflow preventer for dripping
Some leaks are obvious, like a cracked head. Others take careful testing zone by zone.
Step 3: Isolate the Zone
Once the area is identified, the technician shuts off the water to that zone or to the irrigation system. This keeps the work area safe and dry.
It also stops water from continuing to escape while the repair happens. Shutting off the wrong valve can interrupt water to the whole house, so finding the correct one matters.
Step 4: Expose the Damaged Part
If the leak is underground, the technician digs carefully around the area. The goal is to uncover the problem without damaging nearby pipes or wires.
Sod is often lifted in one piece and set aside. That way it can be placed back after the repair.
Step 5: Repair or Replace the Part
The fix depends on what failed. Common repairs include:
- Replacing a cracked or broken sprinkler head
- Replacing a damaged fitting or section of pipe
- Repairing or replacing a leaking valve
- Replacing a worn diaphragm or solenoid inside a valve
- Repairing a cracked valve box or damaged wiring connection
A licensed company chooses parts that match the existing system. Mixing incompatible parts is one reason repairs fail early.
Step 6: Run the Zone and Check Pressure and Coverage
This step separates a finished repair from a partial one. After the part is fixed, the technician turns the water back on and runs the zone.
Here is what they check:
- Leaks: Is water still escaping at the repair or nearby?
- Pressure: Do the heads pop up fully and spray at a steady strength?
- Coverage: Does water reach the whole area without dry gaps or overspray onto sidewalks?
- Shutoff: Does the zone turn off completely, with no dripping or running on?
If anything looks off, the technician adjusts or investigates further before closing up. A repair that holds for a few seconds isn’t the same as one that works through a full cycle.
Step 7: Backfill and Clean Up
Once the zone passes the test, the hole is filled and the sod is replaced. Soil is packed and the area is tidied.
Homeowners can expect the patch to look uneven at first. Watering and time help it settle, and some areas may need a little extra attention.
Step 8: Record What Was Found
A good repair ends with a clear explanation. Many licensed companies tell the homeowner what failed, what was replaced, and whether anything else needs attention.
Useful notes may include:
- What caused the leak
- What parts were repaired or replaced
- Any other weak spots seen during the visit
- Items that can wait and items that should not
This record is helpful at spring startup and for future repairs.
Why Fix Sprinkler Leaks Before Winter?
Leaks and cold weather do not mix well. Water that sits around pipes, fittings, and valves can freeze, expand, and stress those parts.
Fixing leaks first has real benefits:
- Fewer weak spots: A cracked fitting is more likely to fail under stress.
- Less trapped water: Damaged parts can hold water that would otherwise drain or be removed.
- Fewer surprises in spring: Problems found in fall are easier to address than ones discovered after a freeze.
- Lower water waste: An active leak wastes water all season.
Repairs do not make a system freeze-proof. A hard freeze can still damage parts that were in good shape, especially exposed ones like the backflow preventer.
Common Mistakes Homeowners Make
Most leak problems get worse when they are ignored or misjudged. Here are the mistakes that come up often.
- Waiting for the leak to fix itself: Leaks rarely get smaller.
- Assuming a wet spot is the exact leak location: Water can travel before it surfaces.
- Skipping the test run: A repair should be confirmed under working conditions.
- Using mismatched parts: They may not seal or fit properly.
- Ignoring small leaks before winter: They can turn into bigger problems in the cold.
- Assuming a repair replaces winterization: They are separate jobs with different goals.
Local Considerations for Celina and North Texas
North Texas conditions can stress irrigation systems in several ways. A few local factors are worth keeping in mind.
- Clay soil: It swells and shrinks, which can pull on pipes and fittings and create new leaks over time.
- Heat: Long, hot summers can wear plastic parts and make them more brittle.
- Wind: Cold wind can chill exposed parts like the backflow preventer faster than the air temperature suggests.
- Seasonal watering: Lawns need much less water in winter, so a leaking system wastes even more.
- Water restrictions: Check with the city or your water provider for current watering rules.
- Foundation movement: Shifting soil near the home can strain lines close to the foundation.
The Texas A&M AgriLife Extension offers helpful guidance on lawn and landscape care in Texas.
Related Problems to Watch For
Sometimes what looks like a simple leak has another cause. If repairs don’t solve the problem, consider these possibilities.
- Low water pressure: Could be a partly closed valve, a clogged filter, or a leak elsewhere.
- A zone that won’t turn off: Often points to a valve problem.
- Controller issues: The schedule may be running when you don’t expect it.
- Clogged nozzles: Debris can block spray and mimic a leak.
- High water bills: A hidden leak may be the cause, though other factors can contribute.
The EPA WaterSense program offers tips on finding leaks and using water efficiently. If you suspect a hidden leak, read our guide on finding an underground sprinkler leak. For zones that won’t behave, see our article on sprinkler valve problems.
Frequently Asked Questions
How long does a sprinkler leak repair take?
Many repairs take one to three hours. Time depends on how hard the leak is to find, how deep the pipe sits, and what part needs replacing.
How do I know the repair is finished?
The zone should run without leaks, spray at steady pressure, and cover the full area. It should also shut off completely. Ask the technician to show you the zone running.
Does fixing a leak prevent freeze damage?
No. Repairs reduce weak spots and trapped water, but they cannot promise a system will avoid freeze damage. Winterization steps and protecting exposed parts also play a role.
Can I repair a sprinkler leak myself?
Some simple fixes, like replacing a broken head, are manageable for many homeowners. Underground pipe and valve repairs take more tools and experience, so many homeowners choose a licensed professional.
When should I fix leaks before winter?
Ideally in the fall, before the first hard freeze, often between November and December. Early repairs leave time to retest the system before cold weather arrives.
Bottom Line and Next Step
Sprinkler leak repair in Celina TX is not finished when the broken part is replaced. It is finished once the zone has been run and pressure and coverage have been checked. Fixing known leaks before winter reduces weak spots and trapped water, though it cannot promise freeze damage will never happen. If you notice wet spots or a high water bill, a licensed sprinkler company can locate the leak and explain your options. Whale Done is happy to answer questions, and our goal is to educate first.