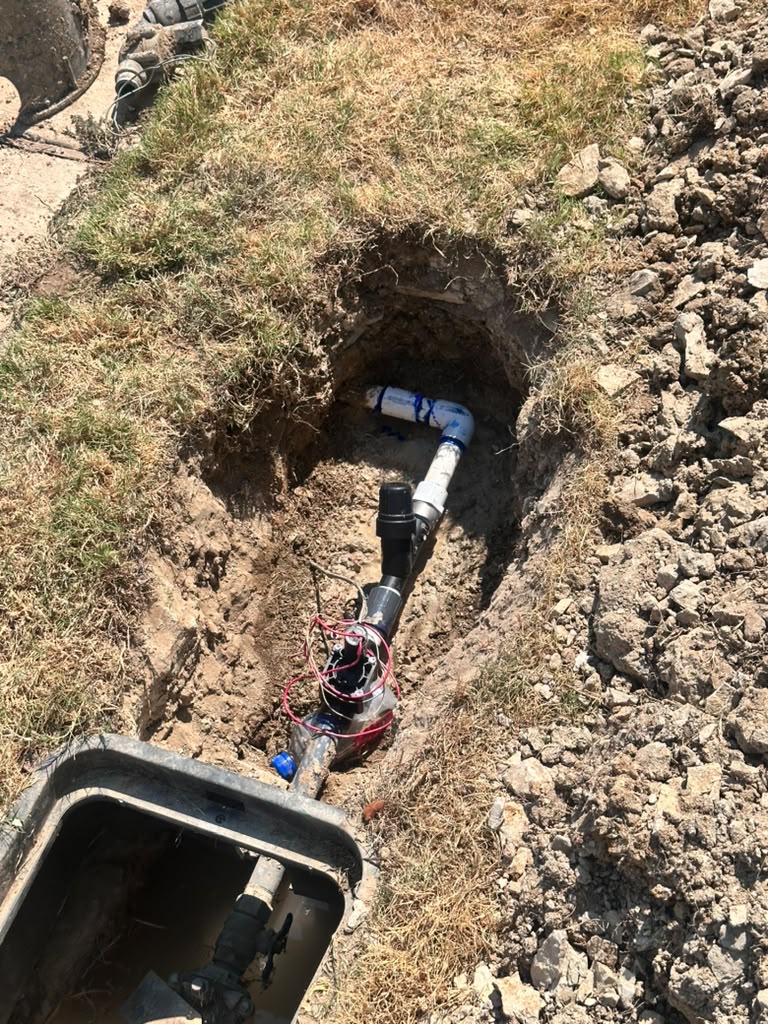
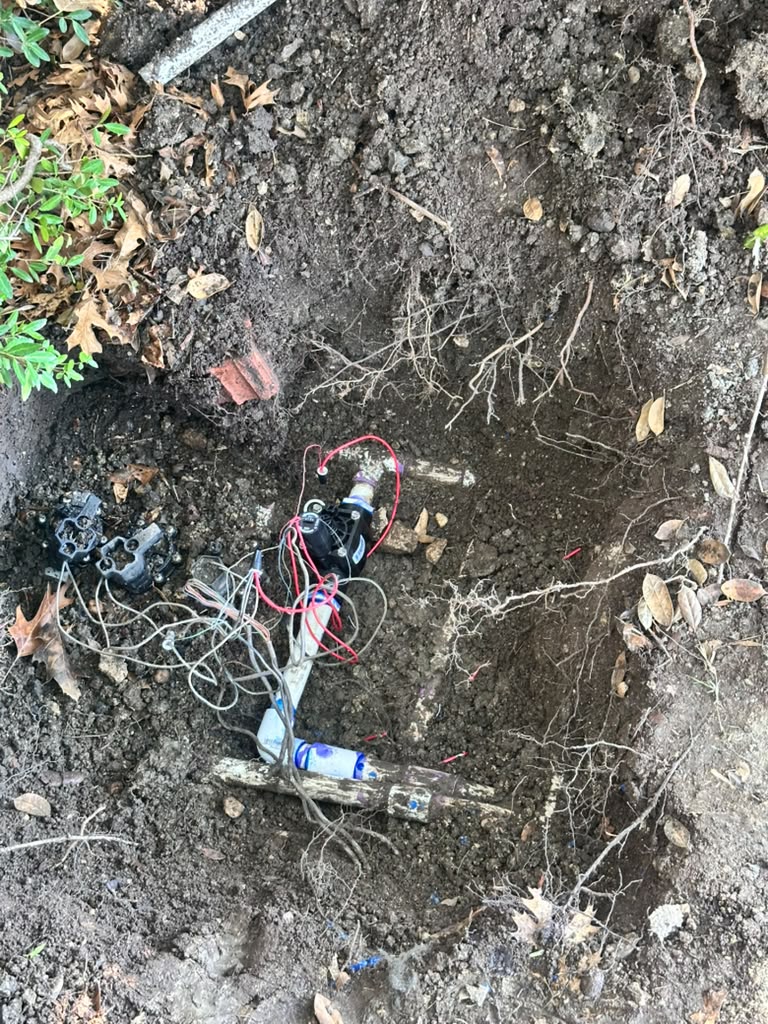
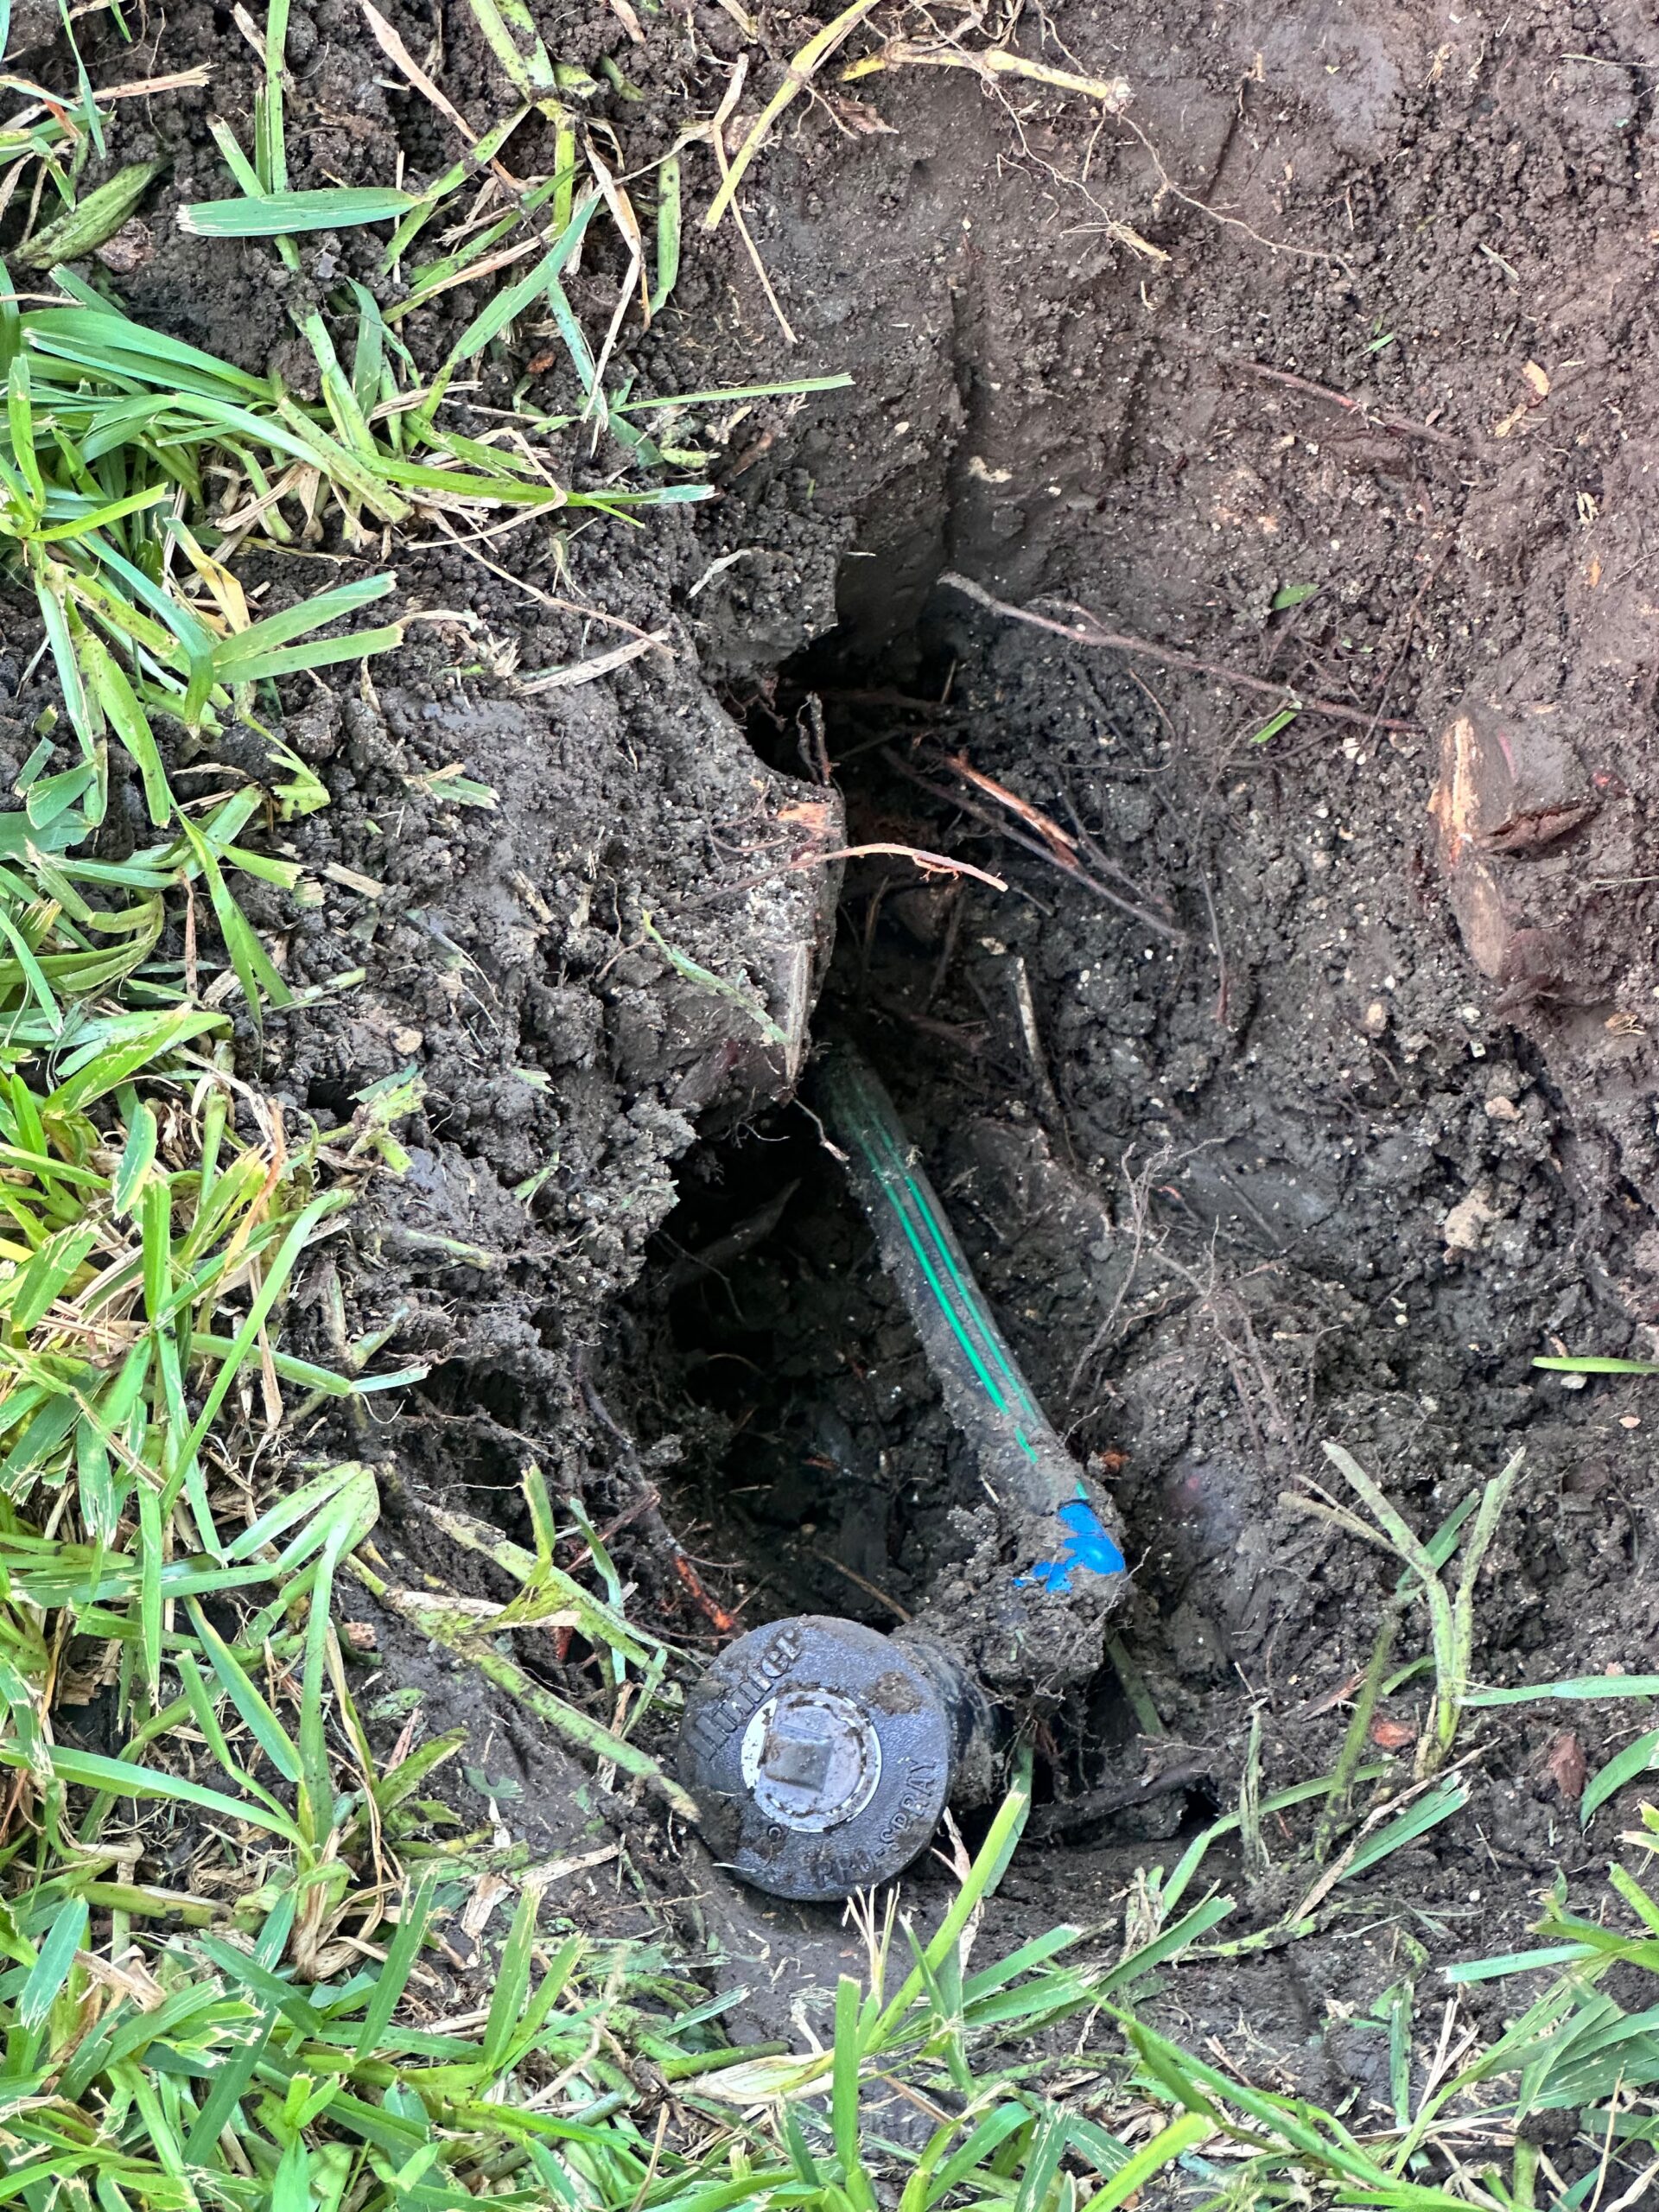
To maintain drip irrigation in McKinney TX before winter, check the filter, flush the lines, test the emitters, and look for leaks or damaged tubing. Then confirm how the drip zone fits into your system’s freeze protection, since drip tubing, fittings, and valves can hold water that may freeze.
The exact steps depend on how your system is built. Drip zones with pressure regulators, filters, or above-ground components need different attention than simple setups, so a licensed sprinkler company can confirm what your system needs.
At a Glance
| Difficulty | Easy to moderate. Basic checks are homeowner-friendly; freeze protection decisions are best left to a licensed professional |
| Estimated Time | 30-60 minutes for checks, depending on the number of drip zones |
| Tools Needed | Small brush or soft cloth, bucket, replacement emitters, a phone for photos |
| Works For | Catching clogs, leaks, and worn parts before cold weather |
| May Not Solve | Hidden underground leaks, valve failures, or freeze protection for the full system |
Why Drip Irrigation in McKinney TX Needs Pre-Winter Attention
Drip systems deliver water slowly through small openings. Those openings clog easily with minerals, sediment, and debris.
Drip tubing is also lightweight and often sits near the surface or under mulch. That makes it more exposed to damage from digging, animals, and temperature swings.
A quick check before winter helps you find problems while the weather is still mild. It also leaves you with a cleaner system at spring startup.
What Makes Up a Drip Irrigation System?
Knowing the parts helps you understand what you are checking. Most drip zones include some combination of these components.
- Filter: Catches sediment before it reaches the emitters
- Pressure regulator: Lowers water pressure to a level drip tubing can handle
- Mainline tubing: The larger tube that carries water through the zone
- Emitters: Small outlets that release water at the plant
- Fittings and connectors: Join tubing together
- End caps or flush valves: Close off the ends of lines and allow flushing
- Zone valve: Controls when water reaches the drip zone
Every system is a little different. Some have all of these parts, and others have only a few.
Step 1: Check the Filter
The filter protects the rest of the zone from clogs. A dirty filter can reduce water flow and cause uneven watering.
Things to look for:
- Visible dirt, sand, or mineral buildup on the screen
- Cracks in the housing
- Loose or worn seals
- Water leaking around the filter body
Some filters can be opened and rinsed by hand. Others are built differently, so check how yours is designed or ask a licensed company before taking it apart.
Step 2: Flush the Lines
Flushing means letting water run through the tubing so trapped sediment can leave the system. This clears minerals, sand, and debris that can block emitters over time and cause uneven watering across the zone.
Many drip zones have an end cap or flush valve designed for this purpose. If yours does, a short flush while the zone is running may help move loose buildup out of the lines. Watch the water as it leaves, since cloudy or gritty water suggests sediment was trapped inside.
Because systems differ, the right way to flush depends on your layout, tubing, and parts. Some zones have several branches, and each may need separate attention. If you are unsure, a licensed technician can show you how flushing works on your property.
Step 3: Test the Emitters
Emitters are the most common point of failure in a drip zone. Testing them takes a few minutes and tells you a lot.
Run the zone and walk the line. Look for:
- Emitters that are dripping slowly or not at all
- Emitters that are spraying or leaking at the connection
- Wet spots where water should not be pooling
- Dry areas near plants that should be getting water
- Tubing that is cracked, kinked, or pulled out of a fitting
Make notes or take photos of anything that looks wrong. Replacing a clogged emitter is usually simple, but extensive damage may point to a bigger issue.
Step 4: Inspect Tubing and Fittings
Tubing and fittings take a lot of wear. Sun, mowers, and shifting soil can all damage them.
Check for:
- Brittle or cracked tubing
- Loose connectors
- Exposed tubing that has shifted from where it was placed
- Chew marks from animals
- Damaged end caps
A small repair now is easier than finding a break after the first freeze.
How Drip Fits Into Freeze Protection
Drip zones are part of the larger irrigation system, so they belong in your freeze protection plan. The tubing and fittings can hold water, and the zone valve and filter may be exposed to cold air and wind.
How a drip zone is handled depends on the system. Some drip zones share a valve setup with other zones, while others have their own. Some have above-ground filters and regulators, and others are buried in valve boxes where the soil offers some insulation.
A licensed sprinkler company looks at each of these details when deciding how to protect the system, including the pipe type, layout, and condition of the parts. No single approach fits every property.
Drip Maintenance vs. Winterization
Checking filters, flushing lines, and testing emitters are maintenance steps. They keep the drip zone working well by clearing sediment, catching clogs early, and showing you which emitters or fittings need replacing before cold weather arrives.
Winterization is a separate job. It deals with protecting the system from freeze damage, including the backflow preventer, valves, and any water left in the lines. A tidy, well-maintained drip zone can still be damaged in a hard freeze if the exposed parts aren’t protected.
Both matter. Maintenance prepares the zone, and winterization protects it. A licensed sprinkler company can explain how the two fit together for your specific system, since the right steps depend on how it was built.
Common Mistakes Homeowners Make
Most drip problems come from skipped steps or assumptions. Here are the ones that come up often.
- Skipping the filter: A clogged filter affects the whole zone.
- Assuming all drip zones are the same: Parts and layout vary.
- Ignoring small leaks: They tend to get worse in cold weather.
- Following generic online instructions: What works for one system may not suit another.
- Forgetting about above-ground parts: Filters and regulators may be exposed.
- Waiting for a freeze warning: Schedules fill quickly when cold weather is forecast.
Local Considerations for McKinney and North Texas
North Texas winters can swing from mild to freezing within a day. Local conditions also affect how drip zones hold up.
- Clay soil: It swells and shrinks, which can pull on tubing and fittings.
- Heat: A long, hot summer can leave plastic parts brittle before winter starts.
- Wind: Cold wind can chill exposed components faster than the air temperature suggests.
- Seasonal watering: Plants need far less water in winter, so reducing or pausing drip schedules is often reasonable.
- Water restrictions: Check with the city or your water provider for current rules.
- Foundation movement: Shifting soil near the house can strain drip lines in nearby beds.
The Texas A&M AgriLife Extension offers helpful guidance on landscape watering in Texas.
Related Problems to Watch For
Sometimes what looks like a drip problem is something else. If you notice any of these, the cause may be different.
- Low water pressure: May point to a partly closed valve or a leak.
- A zone that won’t shut off: Often a valve problem.
- Wet spots in the yard: Could be a broken line or fitting.
- Plants that look stressed: May be a watering schedule issue, not an emitter issue.
The EPA WaterSense program shares tips on using water efficiently in the landscape. If you suspect a leak, read our guide on finding an underground sprinkler leak. For zones that won’t behave, see our article on sprinkler valve problems.
Frequently Asked Questions
Do I need to flush my drip lines before winter?
It often helps, since flushing clears sediment that can clog emitters. The right method depends on your system, so ask a licensed company if you are unsure.
How do I know if my drip emitters are working?
Run the zone and walk the line. Emitters that drip slowly, not at all, or leak at the connection may need cleaning or replacement.
Can drip tubing freeze?
Water left in tubing, fittings, filters, and valves can freeze in a hard freeze. How a zone is protected depends on the system’s design.
Should I turn off my drip zones for winter?
Plants usually need far less water in winter, so reducing or pausing the schedule is often reasonable. Turning off the timer does not protect the system from freezing, though.
When should I check my drip system in McKinney?
Ideally before the first hard freeze, often between November and December. Early checks leave time for repairs and scheduling.
Next Step and Bottom Line
Maintaining drip irrigation in McKinney TX before winter means checking filters, flushing lines, testing emitters, and understanding how your zones fit into freeze protection. Each of these steps helps you catch clogs, leaks, and worn parts while the weather is still mild, which makes spring startup easier. Because every system is built differently, the right steps vary by property, and no single method fits every yard.
If you’re unsure what your system needs, a licensed sprinkler company can inspect it and explain the options. Some homeowners choose to ask for notes or photos of anything found, so repairs can be planned before a hard freeze. Whale Done is happy to answer questions or schedule a visit, and our goal is to educate first.