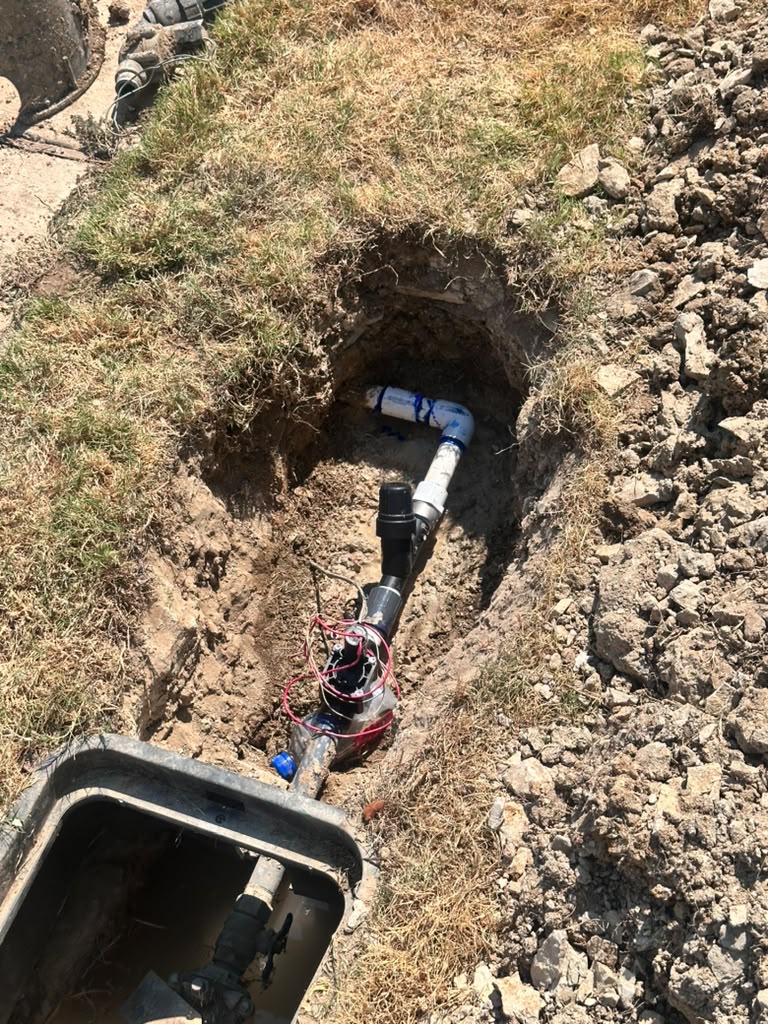
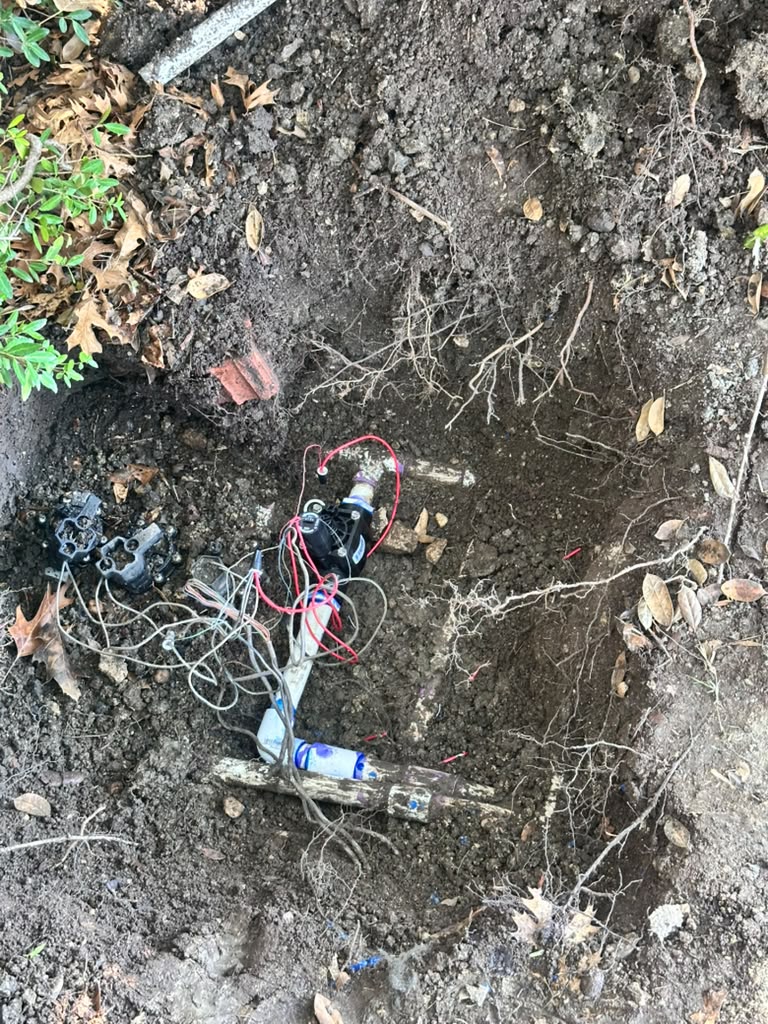
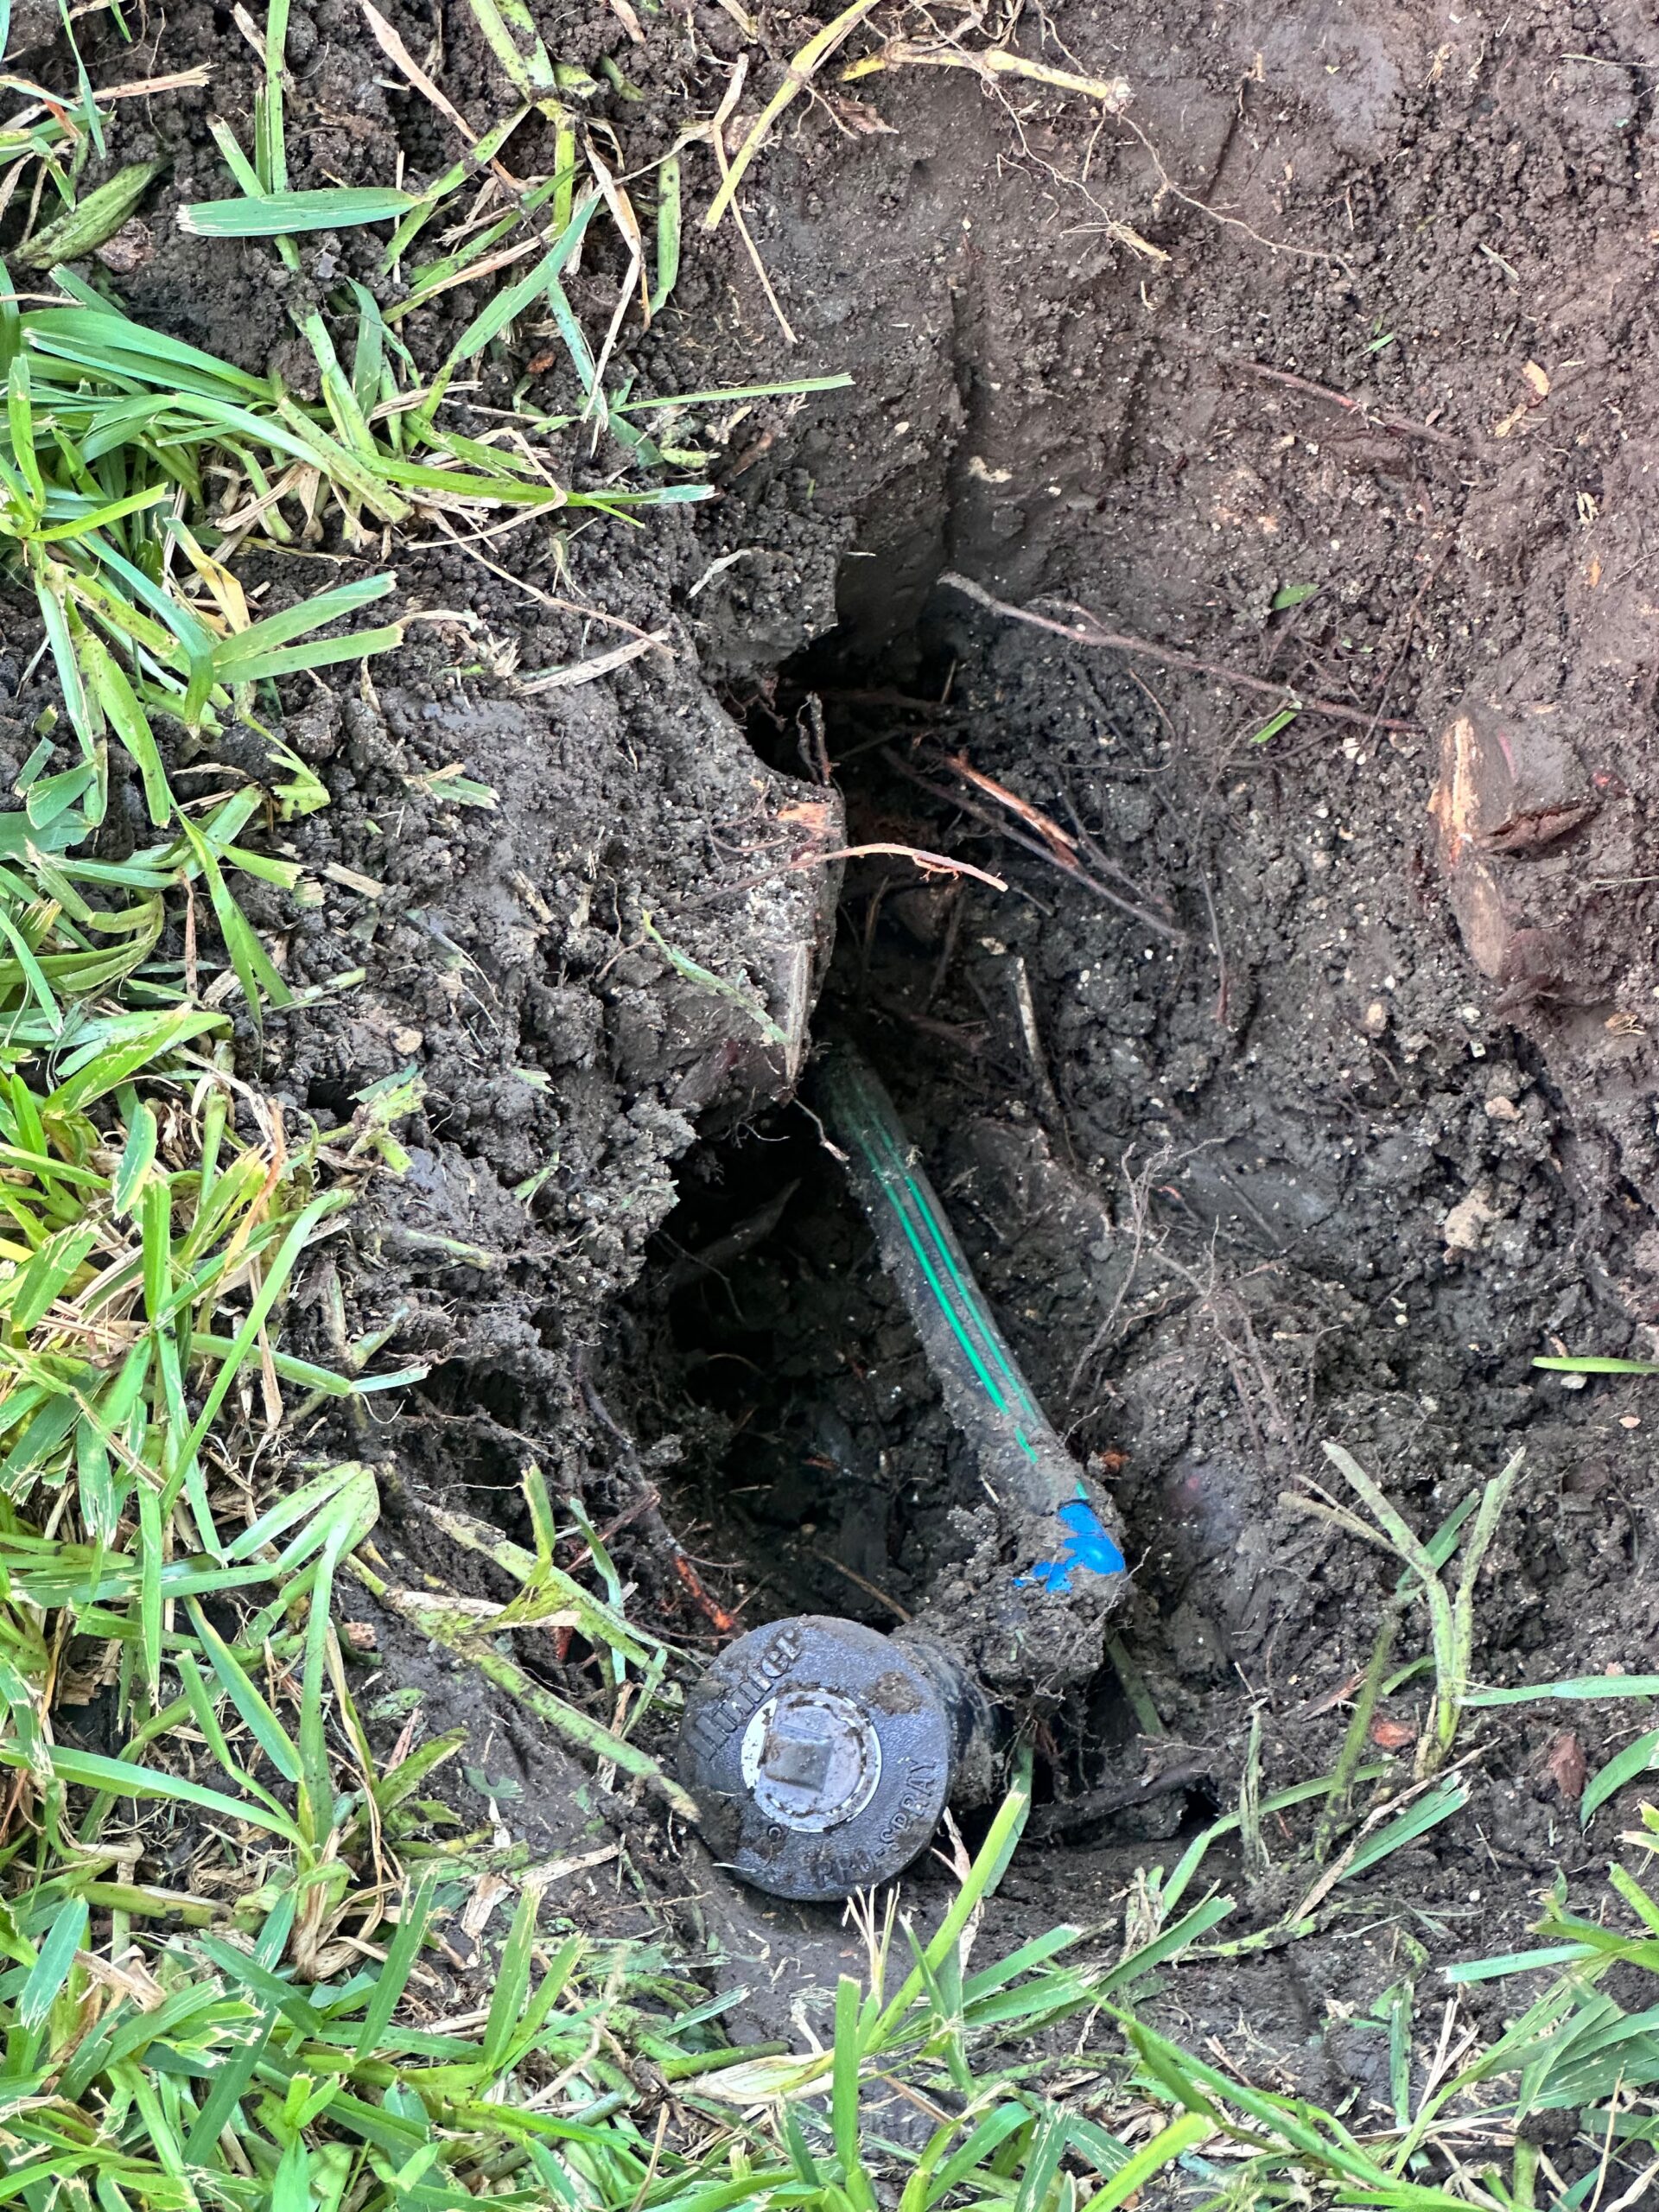
Sprinkler valve repair in Little Elm TX may be necessary when one irrigation zone stops working while the other zones continue running normally. In most cases, this points to a problem with the affected zone’s valve, solenoid, or electrical wiring rather than the sprinkler controller. However, a faulty controller output, incorrect programming, or an electrical connection problem can produce similar symptoms.
Before replacing any components, homeowners should check whether the controller can activate other zones and whether the affected valve receives the proper electrical signal. Identifying where the problem occurs helps prevent unnecessary replacements and restores proper irrigation operation.
At a Glance: Sprinkler Valve vs. Controller Problems
| Category | Details |
| Difficulty | Basic checks are homeowner-friendly; electrical testing requires experience |
| Estimated Time | 10–30 minutes for initial observations |
| Tools Needed | Sprinkler controller, flashlight, and system manual |
| Works For | Identifying possible valve, solenoid, wiring, and controller problems |
| May Not Solve | Damaged underground wiring, internal valve damage, or electrical failures |
Important: You do not need to replace your sprinkler controller just because one zone refuses to operate. Start by identifying whether the problem affects one zone or the entire irrigation system.
Why Does One Sprinkler Zone Stop Working?
An automatic sprinkler system depends on several components working together. The controller sends an electrical signal through low-voltage wiring to activate a valve, allowing water to flow through the pipes and sprinkler heads assigned to that zone.
When one component fails, the affected zone may stop operating even when the rest of the system works correctly.
Understanding these components makes troubleshooting easier.
1. The Sprinkler Valve Controls Water Flow
Each irrigation zone has a valve that controls its water supply. When activated, the valve opens and sends water to the sprinkler heads. A damaged, stuck, or clogged valve can prevent operation, causing weak water flow, inconsistent watering, leaks around the valve box, or a zone that continues running after shutdown.
2. The Solenoid Receives the Electrical Signal
A solenoid is an electrical component attached to the sprinkler valve that receives signals from the controller to activate water flow. When it fails, the valve may not open, causing one zone to stop working or operate intermittently while others function normally. However, a faulty solenoid does not always require replacing the entire valve; the appropriate repair depends on the valve’s condition.
3. Wiring Connects the Controller to the Valve
Low-voltage wires carry electrical signals from the controller to sprinkler valves, but shovels, landscaping, lawn equipment, rodents, loose connections, and shifting soil can damage them. Damaged wiring interrupts the electrical signal, preventing a zone from operating. Checking the wiring helps identify the problem before replacing the valve or controller.
How to Tell Whether the Controller Is the Problem
A controller problem can look similar to a valve failure. However, the number of affected zones and the controller’s response can provide useful clues.
Consider these situations:
| What You Notice | Possible Cause |
| Only one zone will not turn on | Valve, solenoid, or zone wiring |
| Several zones will not operate | Controller, power, common wiring, or other electrical issue |
| Controller display is blank | Power supply, transformer, or controller failure |
| Controller works but one zone does not respond | Valve, solenoid, wiring, or individual controller output |
| Sprinklers run at the wrong time | Programming or scheduling issue |
| Zone continues running after shutdown | Stuck valve, damaged diaphragm, or electrical issue |
These symptoms are starting points, not final diagnoses. Proper testing is needed to determine which component has failed.
How to Check Your Sprinkler System Before Replacing Parts
Before scheduling a repair, homeowners in Little Elm can perform a few basic observations to narrow down the problem.
These checks do not require opening electrical components or digging up the yard.
Step 1: Check Whether Other Zones Work
Start by manually activating another sprinkler zone through the controller.
Observe what happens:
- If other zones operate normally, the controller may still be functioning properly.
- If multiple zones fail, investigate the controller’s power, programming, and electrical connections.
- If only one zone fails repeatedly, focus on that zone’s valve, solenoid, and wiring.
This simple comparison helps narrow down the possible source of the problem.
Step 2: Inspect the Controller Settings
Check the controller before assuming a component has failed.
Look for these common issues:
- Incorrect watering days.
- Incorrect start times.
- A disabled watering program.
- Incorrect zone run times.
- Active rain or freeze sensor settings.
- Power interruptions that changed the schedule.
Some systems also have manual operating modes that allow homeowners to test individual zones.
If correcting the schedule restores normal operation, a valve replacement may not be necessary.
Step 3: Look for Visible Signs Around the Valve Box
Locate the sprinkler valve box if it is accessible.
Look for obvious signs of trouble, such as:
- Standing water inside the box.
- Visible cracks in the valve body.
- Loose or disconnected wires.
- Damaged fittings.
- Excessive moisture around the valve area.
Do not pull electrical connections apart or attempt to disassemble a pressurized valve.
If you notice exposed wiring, damaged components, or water leaking from the valve, have the system evaluated before attempting repairs.
Step 4: Observe Whether the Zone Activates Manually
Some sprinkler valves have a manual activation feature that allows the valve to open without relying on the controller’s automatic signal.
A trained technician can use this feature to help distinguish between electrical and mechanical problems.
For example:
- If the valve opens manually, the problem may involve the solenoid, wiring, or controller signal.
- If the valve does not open manually, the problem may involve restricted water flow, internal valve damage, or a mechanical obstruction.
Manual activation methods vary by valve model, so follow the manufacturer’s instructions rather than forcing the valve.
Step 5: Have the Electrical Connections Tested
If basic observations do not identify the problem, electrical testing may be necessary.
A licensed irrigation professional can use appropriate testing equipment to check:
- Electrical output at the controller.
- Voltage reaching the affected valve.
- Solenoid condition.
- Wire continuity.
- Damaged or disconnected connections.
These tests help determine whether the controller is sending the correct signal and whether that signal reaches the valve.
The Texas Commission on Environmental Quality’s landscape irrigation curriculum includes troubleshooting procedures for valves, wiring, solenoids, and controllers.
When Is Sprinkler Valve Repair in Little Elm TX Necessary?
Sprinkler valve repair becomes necessary when testing confirms that the valve cannot control water flow correctly or has sustained physical or internal damage.
However, not every malfunction requires replacing the entire valve.
The appropriate solution depends on what has failed.
Faulty or Damaged Valve Components
A valve may have a damaged diaphragm, worn internal components, or debris preventing it from opening or closing properly.
Depending on the damage, cleaning, rebuilding, or replacing the valve may be appropriate.
At Whale Done, our standard is to replace the complete valve when we confirm the valve itself has failed rather than install a new solenoid into an older valve body.
Failed Solenoid
If the valve body is functioning properly but the solenoid has failed, the electrical component may be responsible for the malfunction.
A technician should test the solenoid before recommending replacement.
Damaged Underground Wiring
Sometimes the valve is perfectly functional, but the electrical signal cannot reach it.
In this situation, locating and repairing the damaged wire or connection may restore operation without replacing the valve.
Water Flow Restrictions
Debris, internal obstructions, or other water supply problems can prevent a valve from operating correctly.
Replacing the controller will not correct a physical restriction inside the irrigation system.
Common Mistakes Homeowners Should Avoid
Replacing irrigation components without identifying the actual cause can lead to unnecessary expenses.
Here are some mistakes to avoid.
- Replacing the controller immediately.
A controller that successfully operates other zones may not be responsible for one zone’s failure. Test the affected zone before purchasing new equipment.
- Assuming every failed zone needs a new valve.
The solenoid, wiring, or electrical connection may be responsible. Diagnose the complete circuit first.
- Ignoring intermittent problems.
A zone that works occasionally may have a loose connection or failing component. Waiting until it stops completely can make troubleshooting more difficult.
- Digging without locating the valve.
Random digging can damage underground irrigation pipes and electrical wires. Locate the valve box and inspect accessible areas first.
- Ignoring water leaks.
A valve that does not close properly can waste water even when the controller is switched off. Check for persistent wet areas around the valve box and affected zone.
The EPA WaterSense sprinkler maintenance guidance recommends inspecting irrigation components for leaks, damaged connections, and other conditions that can waste water.
Local Considerations for Little Elm Homeowners
Sprinkler systems in Little Elm experience seasonal changes that can affect underground pipes, wiring, and valve performance.
Understanding these local conditions can help homeowners recognize potential irrigation problems.
Clay Soil and Ground Movement
North Texas properties commonly have clay-rich soil that expands when wet and contracts during dry periods.
These changes can affect underground irrigation components over time.
Potential problems include:
- Shifting pipes and fittings.
- Stress around buried valve connections.
- Damaged or stretched wiring.
- Changes in water distribution.
If a sprinkler zone starts malfunctioning after landscaping or significant ground movement, inspect the affected area for possible damage.
Summer Heat and Irrigation Demand
Little Elm experiences hot summer conditions that increase landscape watering needs.
A zone that fails during the summer can leave part of the lawn without adequate water while the remaining zones continue operating.
However, increasing the run time of other zones will not solve a valve or wiring failure.
Identify the affected component before adjusting the watering schedule.
Seasonal Changes and Freeze Protection
Cold weather can damage exposed irrigation components and water-filled pipes.
Before freezing conditions arrive, inspect the backflow preventer, exposed plumbing, and other vulnerable components.
Seasonal maintenance can help identify developing problems before they affect the entire system.
Related Irrigation Problems That Can Look Like Valve Failure
A sprinkler zone that does not operate properly may have another underlying problem.
Consider these possibilities before deciding on a repair.
Controller problems: Incorrect programming, damaged electrical components, and power interruptions can prevent scheduled watering. Read our guide to sprinkler controller problems.
Underground leaks: A damaged irrigation pipe can reduce water pressure and affect sprinkler performance. Learn more about sprinkler leak detection.
Other sprinkler system failures: Damaged heads, broken pipes, electrical problems, and pressure issues can also affect individual zones. Explore our professional sprinkler repair services to understand the different types of repairs.
These related problems reinforce why identifying the actual source of a malfunction matters more than replacing the first component that appears damaged.
Frequently Asked Questions
1. How Do I Know If My Sprinkler Valve Is Bad?
A faulty valve may prevent one zone from turning on, cause a zone to continue running, or create water leaks around the valve box. However, similar symptoms can come from damaged wiring or a failed solenoid. Testing helps confirm whether the valve needs repair or replacement.
2. Can a Sprinkler Controller Work Even If One Zone Does Not?
Yes. A controller can operate normally while one zone remains inactive. This commonly happens when the affected zone has a faulty valve, solenoid, damaged wire, or poor electrical connection.
3. Should I Replace My Sprinkler Controller or Valve First?
Neither component should be replaced without testing. Check whether other zones work, inspect the controller settings, and have the affected zone’s electrical connections and valve evaluated. The results will help identify which component needs attention.
4. Can a Bad Sprinkler Solenoid Prevent Water From Reaching One Zone?
Yes. The solenoid helps activate the sprinkler valve when it receives an electrical signal. If it fails, the valve may not open, preventing water from reaching the sprinkler heads assigned to that zone.
5. Can Sprinkler Valve Problems Increase My Water Bill?
Yes. A damaged valve that cannot close completely may allow water to continue flowing after the irrigation cycle ends. This can create persistent wet areas, unnecessary water consumption, and potentially higher water bills.
Bottom Line: Diagnose Before Replacing
When one sprinkler zone stops working while the others continue operating, the valve, solenoid, or wiring should be investigated before assuming the controller has failed. Start with simple observations, check the controller settings, and compare the affected zone with functioning zones. If the problem involves electrical testing, internal valve damage, or persistent leaks, a licensed irrigation professional can identify the cause and explain the appropriate repair. Replacing components without diagnosis may create unnecessary expenses without resolving the original problem.
Need Help Identifying the Problem?
If one zone in your Little Elm yard refuses to turn on, the right repair starts with understanding why. Schedule your Whale Done Assessment™ for a complete system evaluation. Our licensed irrigation professionals will identify the problem, explain your options, and help you make an informed decision before repairs begin. The $99 assessment fee is applied toward approved repairs. Call +1 (469) 384-7767 or email clientsupport@callwhaledone.com to get started.