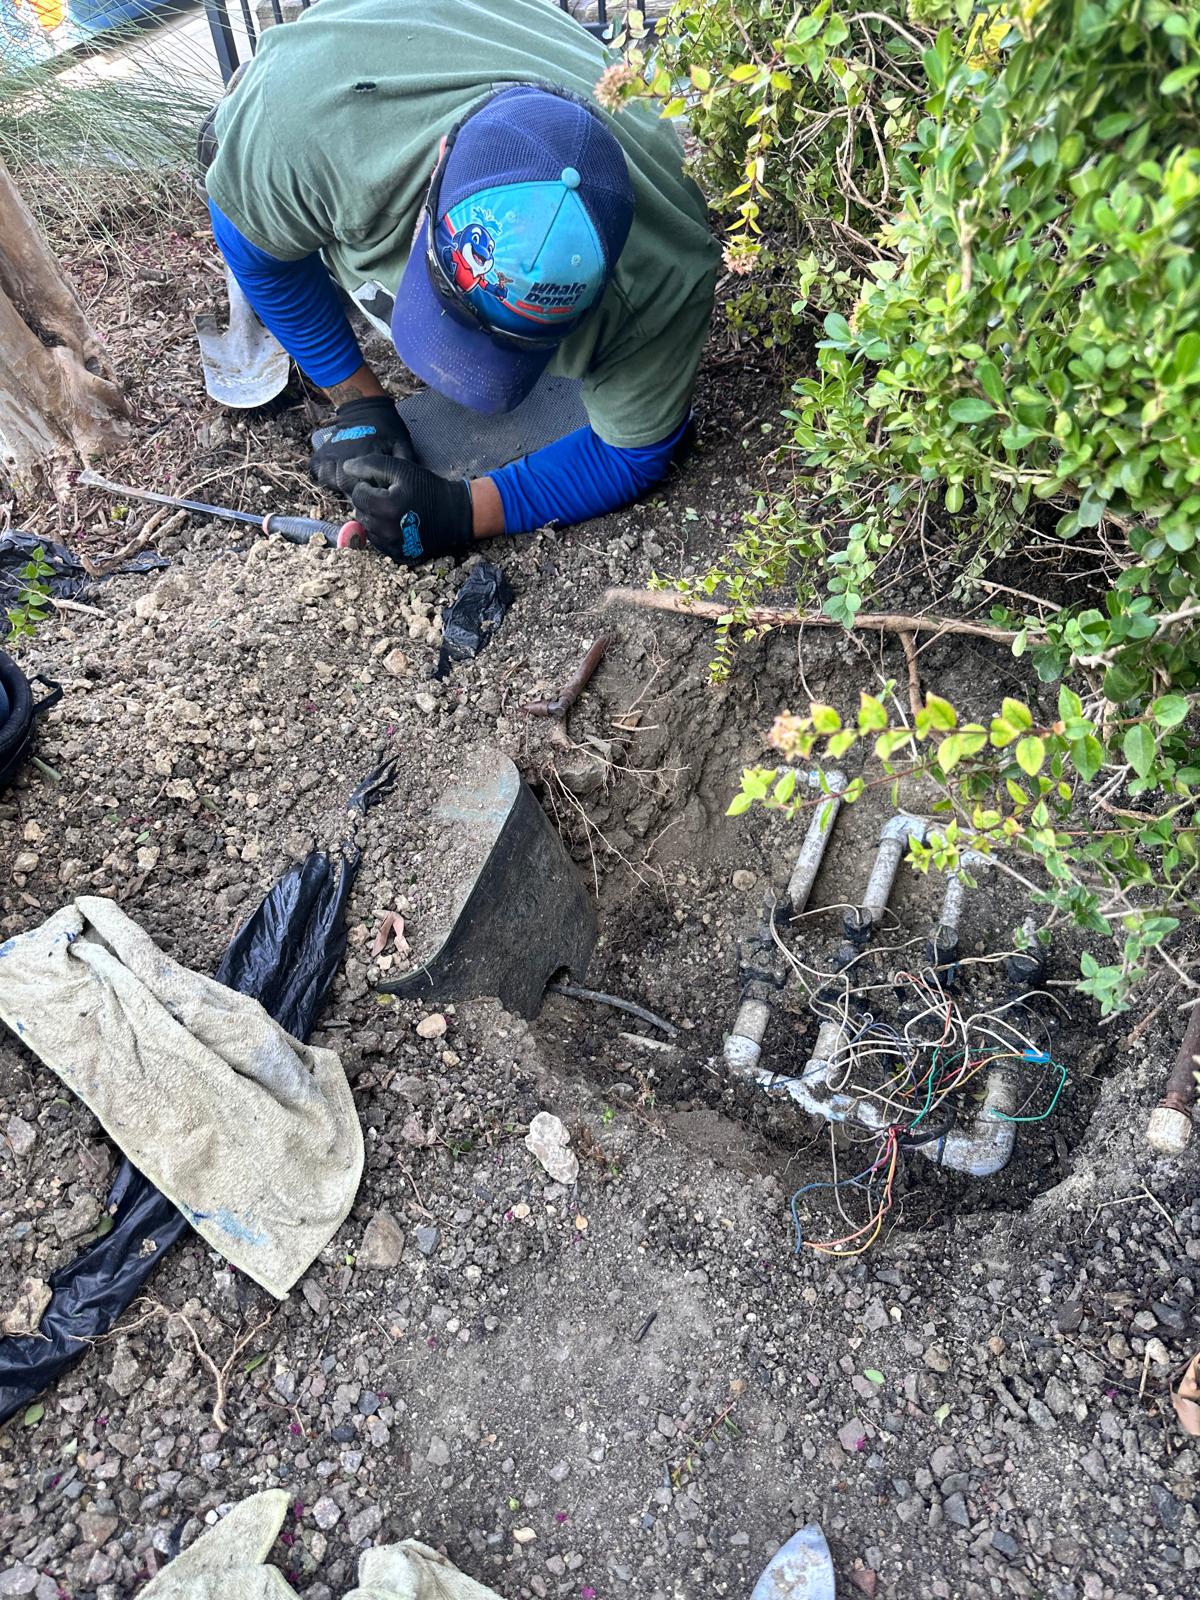
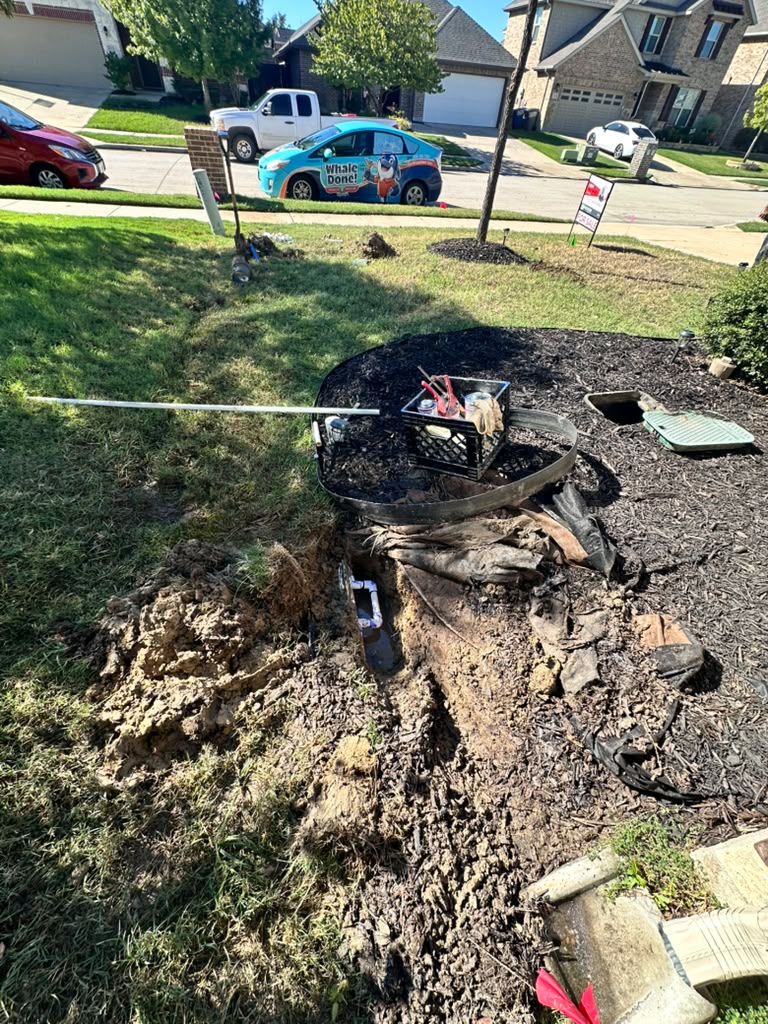
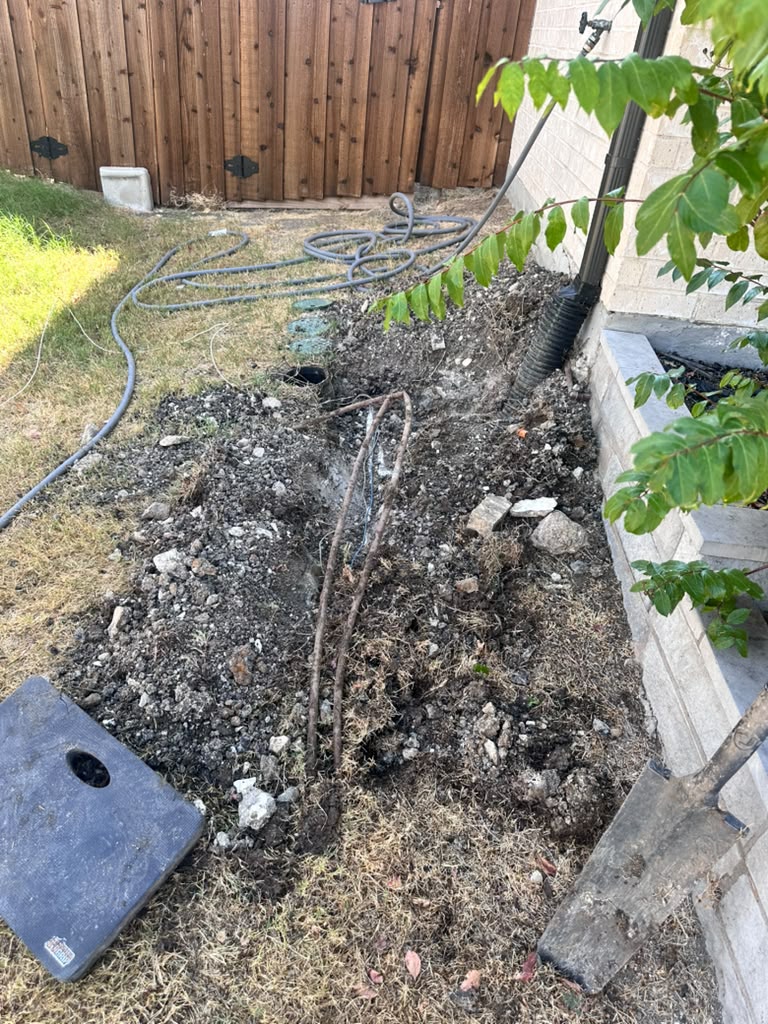
The most common signs of a problem with drip irrigation in Prosper TX are dry or wilting plants, soggy or pooling spots, emitters that drip weakly or not at all, and tubing that has been cut or pulled apart. Any of these can mean the system needs repair.
Before replacing parts, find the cause. A dry plant might have a clogged emitter, a cut line, or a controller that isn’t running the zone. A soggy spot might be a leak, a loose fitting, or overwatering. Matching the symptom to the cause saves time and money.
At a Glance
| Difficulty | Spotting signs: easy. Diagnosing hidden causes: moderate |
| Estimated Time | 20-30 minutes to walk the zone and check each symptom |
| Tools Needed | Gloves, small bucket, soft brush, vinegar, replacement emitters or couplings (only if needed) |
| Works For | Flower beds, shrubs, trees, vegetable gardens, and other drip zones |
| May Not Solve | Problems caused by the valve, filter, pressure regulator, or an underground mainline leak |
Why Drip Irrigation in Prosper TX Problems Happen
Drip systems use small tubing and tiny emitters that release water slowly at the plant’s roots. That design saves water, but it also makes the system easy to clog or damage.
Most problems come from a few causes:
- Dirt, minerals, or insects blocking emitters
- Tubing cut or pulled loose by digging, trimming, or cleanup
- Fittings that separate as soil shifts
- Worn parts that crack from sun and age
- A clogged filter or failing pressure regulator
Knowing these causes helps you read the signs correctly.
Sign 1: Dry or Wilting Plants
Dry plants are the most obvious warning. Leaves may curl, brown at the edges, or droop even though the system ran on schedule.
Common causes include:
- A clogged emitter at that plant
- A cut or disconnected line upstream
- A zone that isn’t turning on
- Roots that have outgrown the emitter’s coverage
Check the soil a few inches down before assuming the plant needs more water. Sometimes the surface looks dry while the roots are fine.
Sign 2: Soggy Spots or Pooling Water
Wet areas around a drip zone can point to a leak or a fitting that has come apart. Water may also pool where tubing has been punctured.
Look for:
- Mud or standing water near the tubing
- A spray or stream where there should only be a drip
- Soggy ground long after the zone has stopped
- A higher water bill with no change in watering
If the wet spot appears only while the zone runs, the cause is often in the line or emitter. If it stays wet all the time, a valve may be leaking.
Sign 3: Clogged Emitters
Emitters can plug with sediment, mineral buildup, algae, or small insects. A clogged emitter lets out little or no water.
To check, run the zone and look at each emitter. A healthy one produces a steady, slow drip.
Signs of a clog include:
- No water at one emitter while others drip normally
- A weak or uneven drip
- White crusty buildup around the emitter
- Plants dying in a pattern that follows the line
Many clogs can be cleared by gently cleaning or soaking the emitter in vinegar, or by replacing the one that failed.
Sign 4: Lines Cut During Fall Cleanup
Fall is a common time for drip lines to get damaged. Raking, edging, pruning, mulching, and planting can nick or slice the tubing without anyone noticing.
Watch for:
- Tubing with a clean cut or a gash
- A line pulled out of a fitting
- A section that was dug up and not reconnected
- Water spraying from the middle of a line
Cleanup damage often goes unnoticed until plants start to struggle, so a quick walk along each line after yard work is worth the time.
Diagnose the Cause Before Replacing Parts
It’s tempting to swap out parts at the first sign of trouble. A short diagnosis usually finds the real problem faster.
Work through these steps in order.
Step 1: Check the Controller
Confirm the zone is scheduled to run and the controller has power. A wrong date, time, or a rain delay can stop a zone without any physical problem.
Step 2: Watch the Zone Run
Start the zone manually and walk the line. Look for leaks, geysers, missing drips, or sections with no flow.
Step 3: Inspect the Filter and Pressure Regulator
Many drip zones have a small filter and a regulator near the valve. A clogged filter lowers flow to the whole zone, and a failed regulator can blow fittings apart.
Step 4: Follow the Tubing
Trace the line from the valve to the last emitter. Look for cuts, kinks, loose connections, and crushed sections.
Step 5: Test Individual Emitters
If the line looks fine, check each emitter. Clean or replace only the ones that aren’t working.
Replacing parts without checking these points can leave the real problem in place.
When Repairs Are Needed
Some problems are simple fixes. Others point to something bigger.
Repairs are often needed when:
- Tubing is cut, cracked, or brittle
- Fittings keep coming apart
- Several emitters fail at once
- A valve leaks or won’t shut off
- The filter or regulator is damaged
Small repairs, like replacing a coupling or one emitter, are things many homeowners handle themselves. Persistent problems across a whole zone may call for a closer look.
Common Mistakes Homeowners Make
Most drip repairs go wrong because of quick assumptions. These are the mistakes that come up most.
- Replacing emitters before checking the line: A cut upstream affects everything after it.
- Watering longer to fix dry plants: This can waste water and hide the real problem.
- Ignoring the filter: A clogged filter affects the whole zone.
- Using the wrong fittings: Mismatched sizes leak or pop apart.
- Burying lines too shallow under mulch: They’re easier to cut during cleanup.
- Skipping a post-cleanup check: Damage can go unseen for weeks.
Local Considerations for Prosper and North Texas
North Texas conditions can be hard on drip systems. Local factors often explain what you’re seeing.
- Clay soil: It swells and shrinks, which can pull fittings apart and shift tubing.
- Heat: Summer sun can make exposed tubing brittle and crack over time.
- Wind: Wind can dry out soil quickly and make plants look underwatered.
- Water restrictions: Check with the town or your water provider for current watering rules.
- Seasonal watering: Plants need much less water in winter, so adjust your schedule.
- Foundation movement: Shifting soil near the house can strain nearby lines.
The Texas A&M AgriLife Extension offers helpful guidance on watering landscape plants in Texas.
Related Problems to Watch For
Sometimes a drip problem is really something else. If repairs don’t help, consider these causes.
- Low water pressure: May come from a partly closed valve or a leak.
- Valve problems: A zone may not start or may not shut off.
- Controller issues: Schedules may be wrong or lost after a power loss.
- Underground leaks: A hidden break can drain pressure from the zone.
The EPA WaterSense program shares practical tips for using water efficiently outdoors. If you suspect a hidden leak, read our guide on finding an underground sprinkler leak. For zones that won’t behave, see our article on sprinkler valve problems.
Frequently Asked Questions
How do I know if my drip emitters are clogged?
Run the zone and look at each emitter. One that drips weakly, unevenly, or not at all is likely clogged. White crusty buildup is another clue.
Why are my plants dry even though the drip system runs?
The cause may be a clogged emitter, a cut line, or a filter that is blocking flow. Check the soil near the roots and walk the line while the zone runs.
Can I fix a cut drip line myself?
Often, yes. A coupling that matches the tubing size can reconnect a clean cut. If cuts are frequent or the damage is widespread, a licensed company can help.
Why is there a wet spot near my drip line?
A leak, loose fitting, or punctured tubing is the usual cause. A valve that doesn’t fully close can also keep the ground wet.
How often should I check my drip system?
Check it at the start of each season and after any yard work. A quick look while the zone runs catches most problems early.
Next Step and Bottom Line
Spotting trouble with drip irrigation in Prosper TX starts with watching for dry plants, soggy spots, clogged emitters, and lines cut during fall cleanup. Each symptom points to a different cause, so it helps to walk the zone while it runs and check the controller, filter, tubing, and emitters before replacing anything. Many fixes, like clearing one emitter or reconnecting a cut line, are simple enough for homeowners to handle.
If you’ve checked the basics and the problem remains, a licensed sprinkler company can inspect the zone and explain your options. Whale Done is happy to answer questions or schedule a visit, and our goal is to educate first.