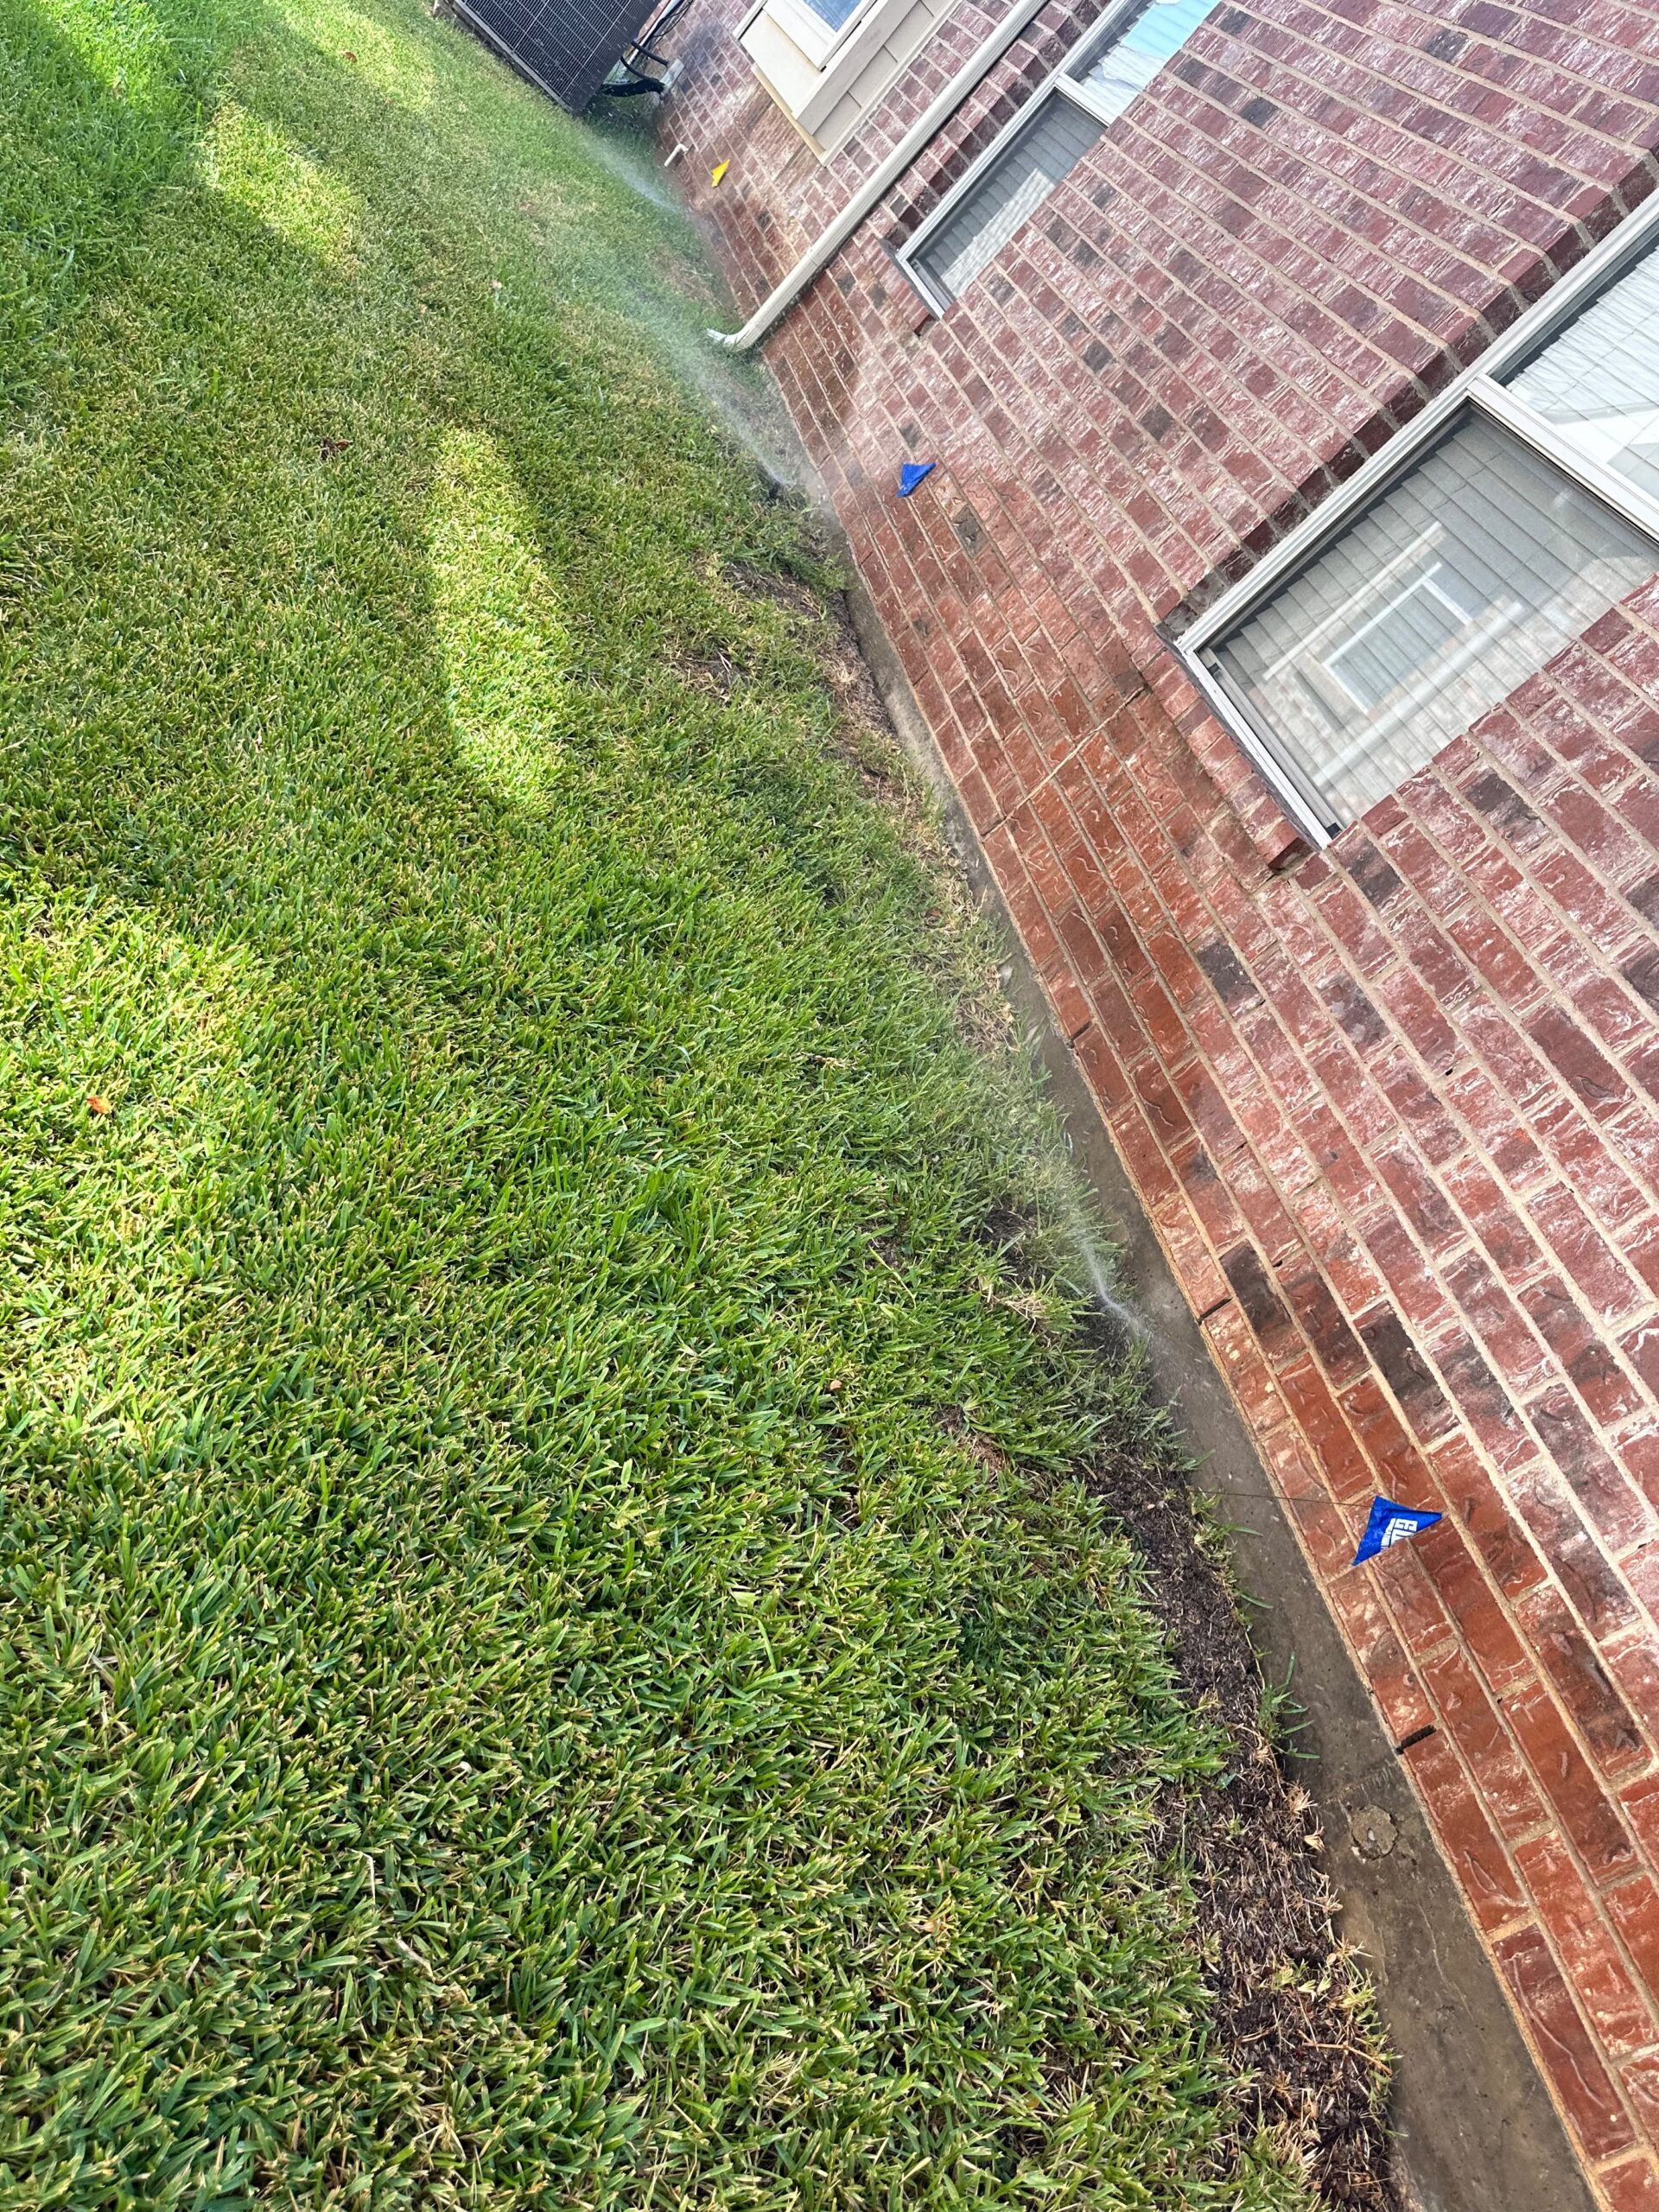
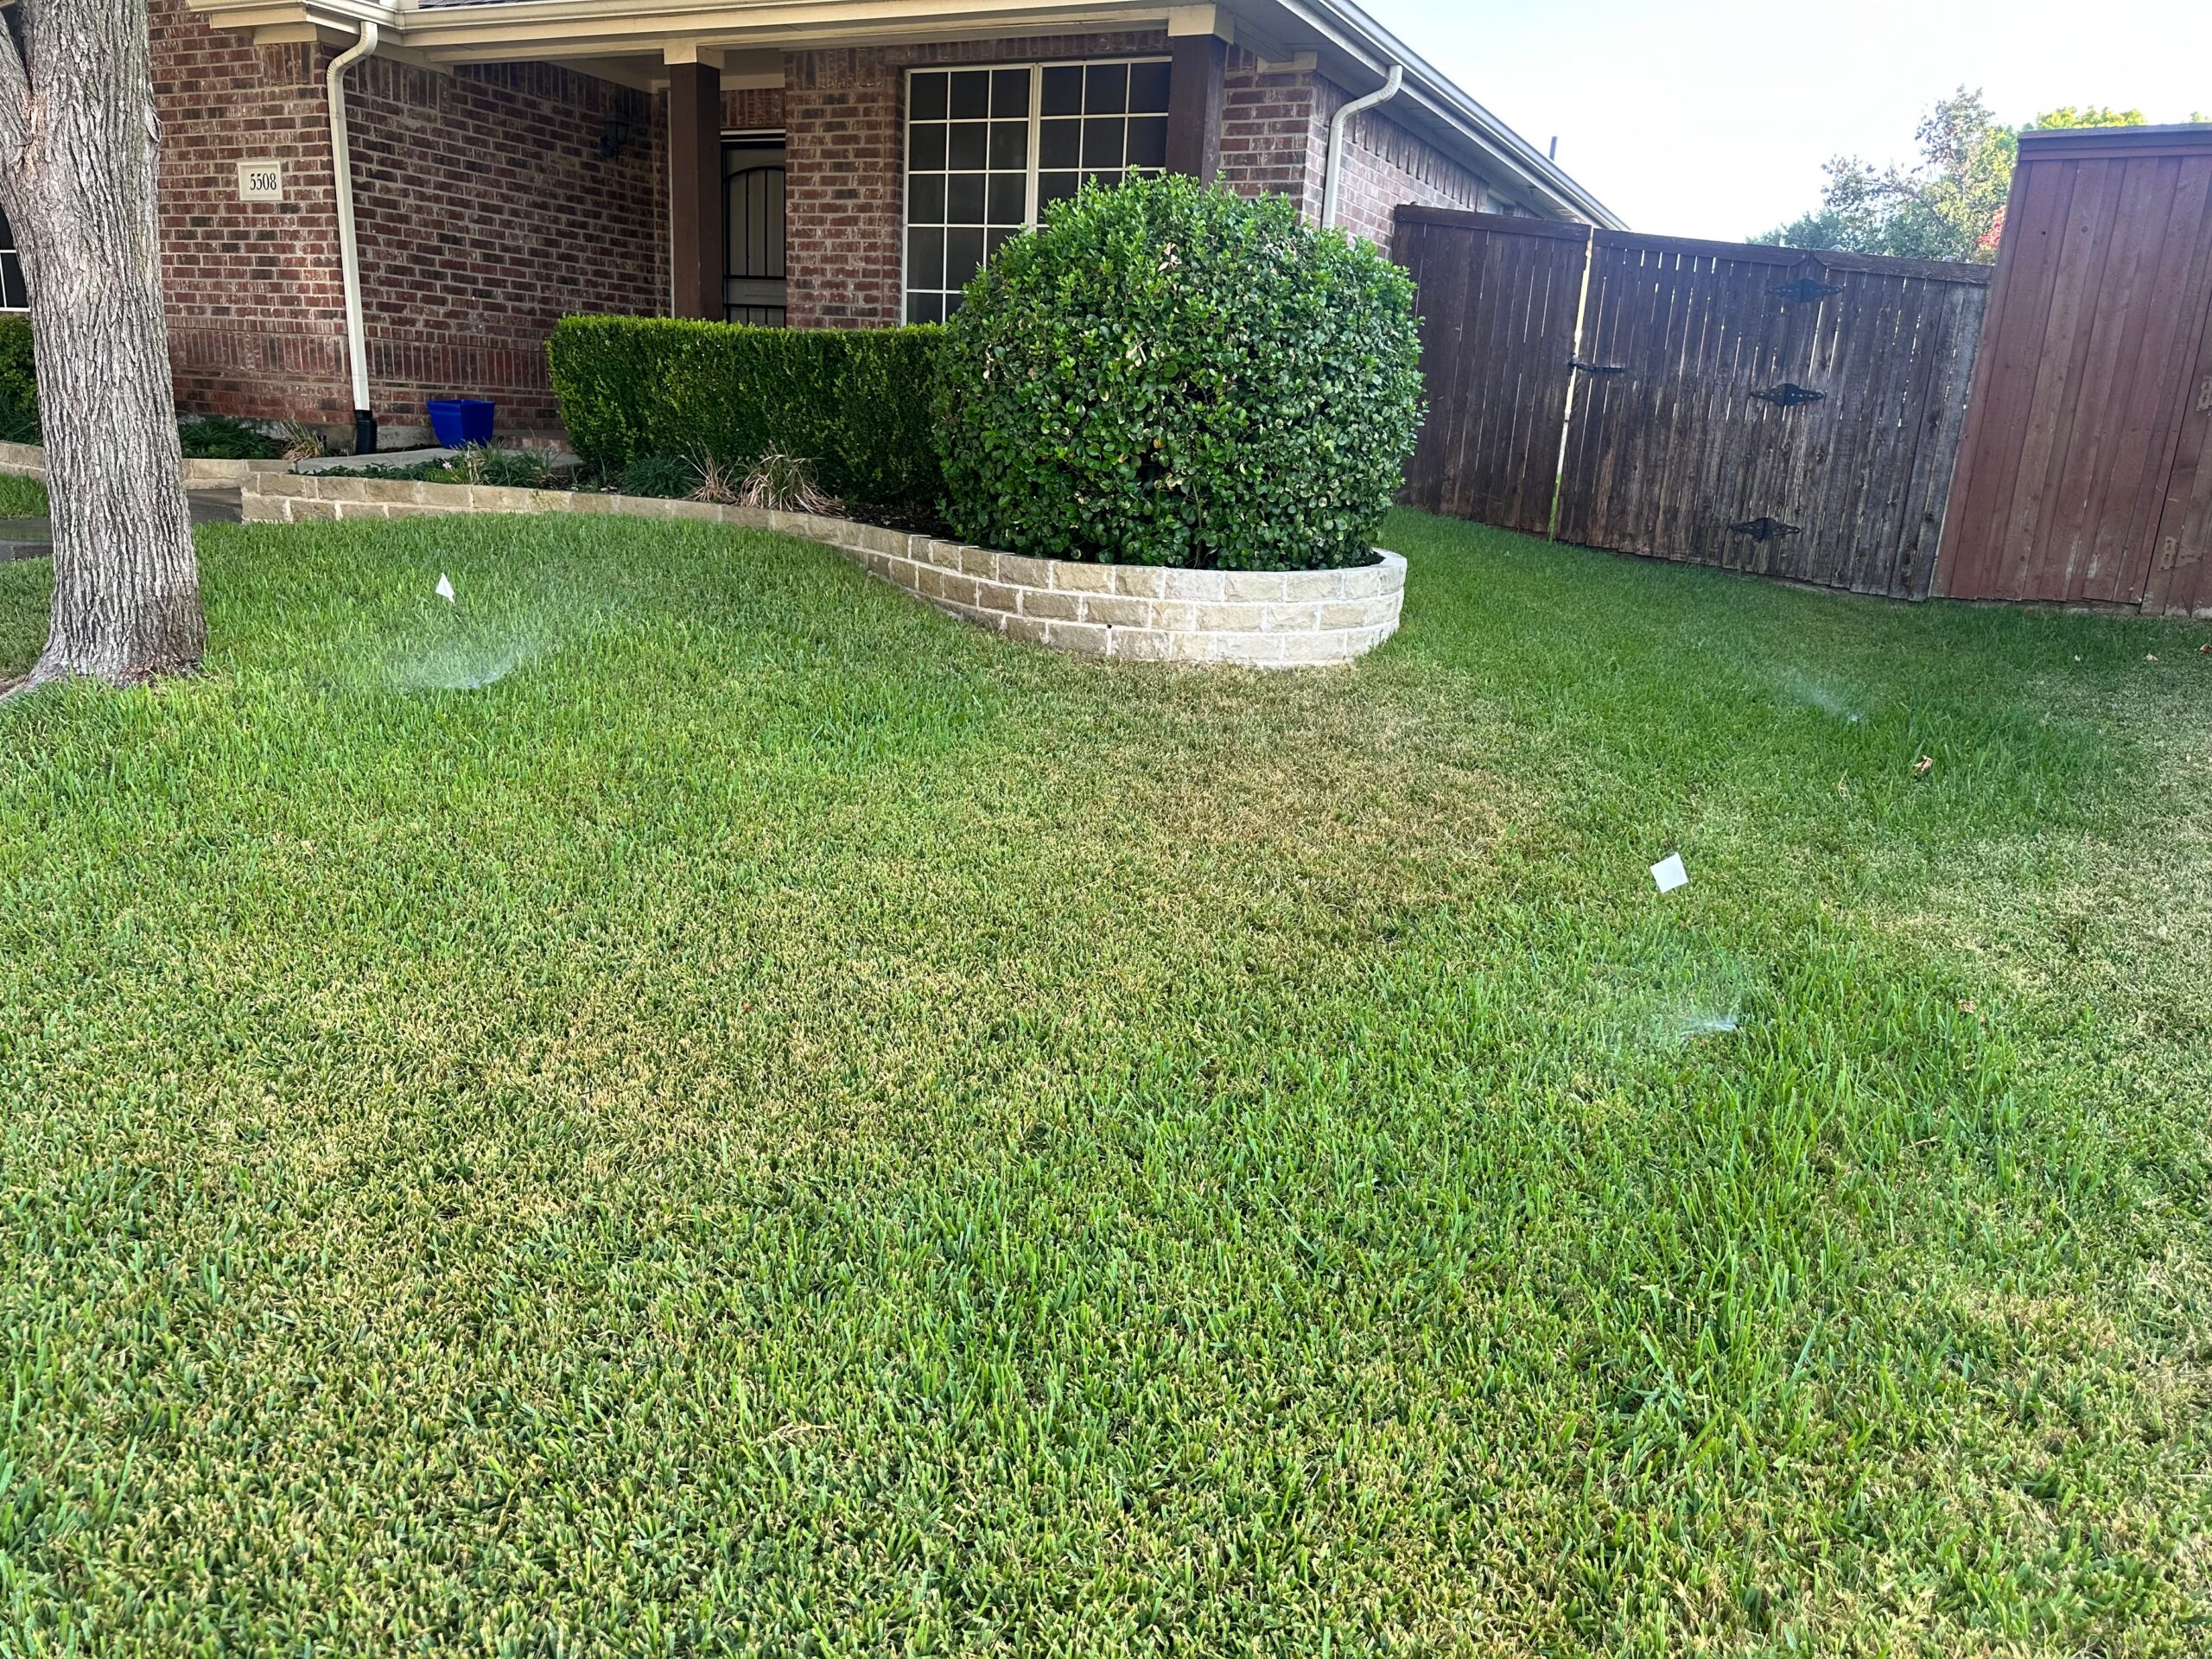
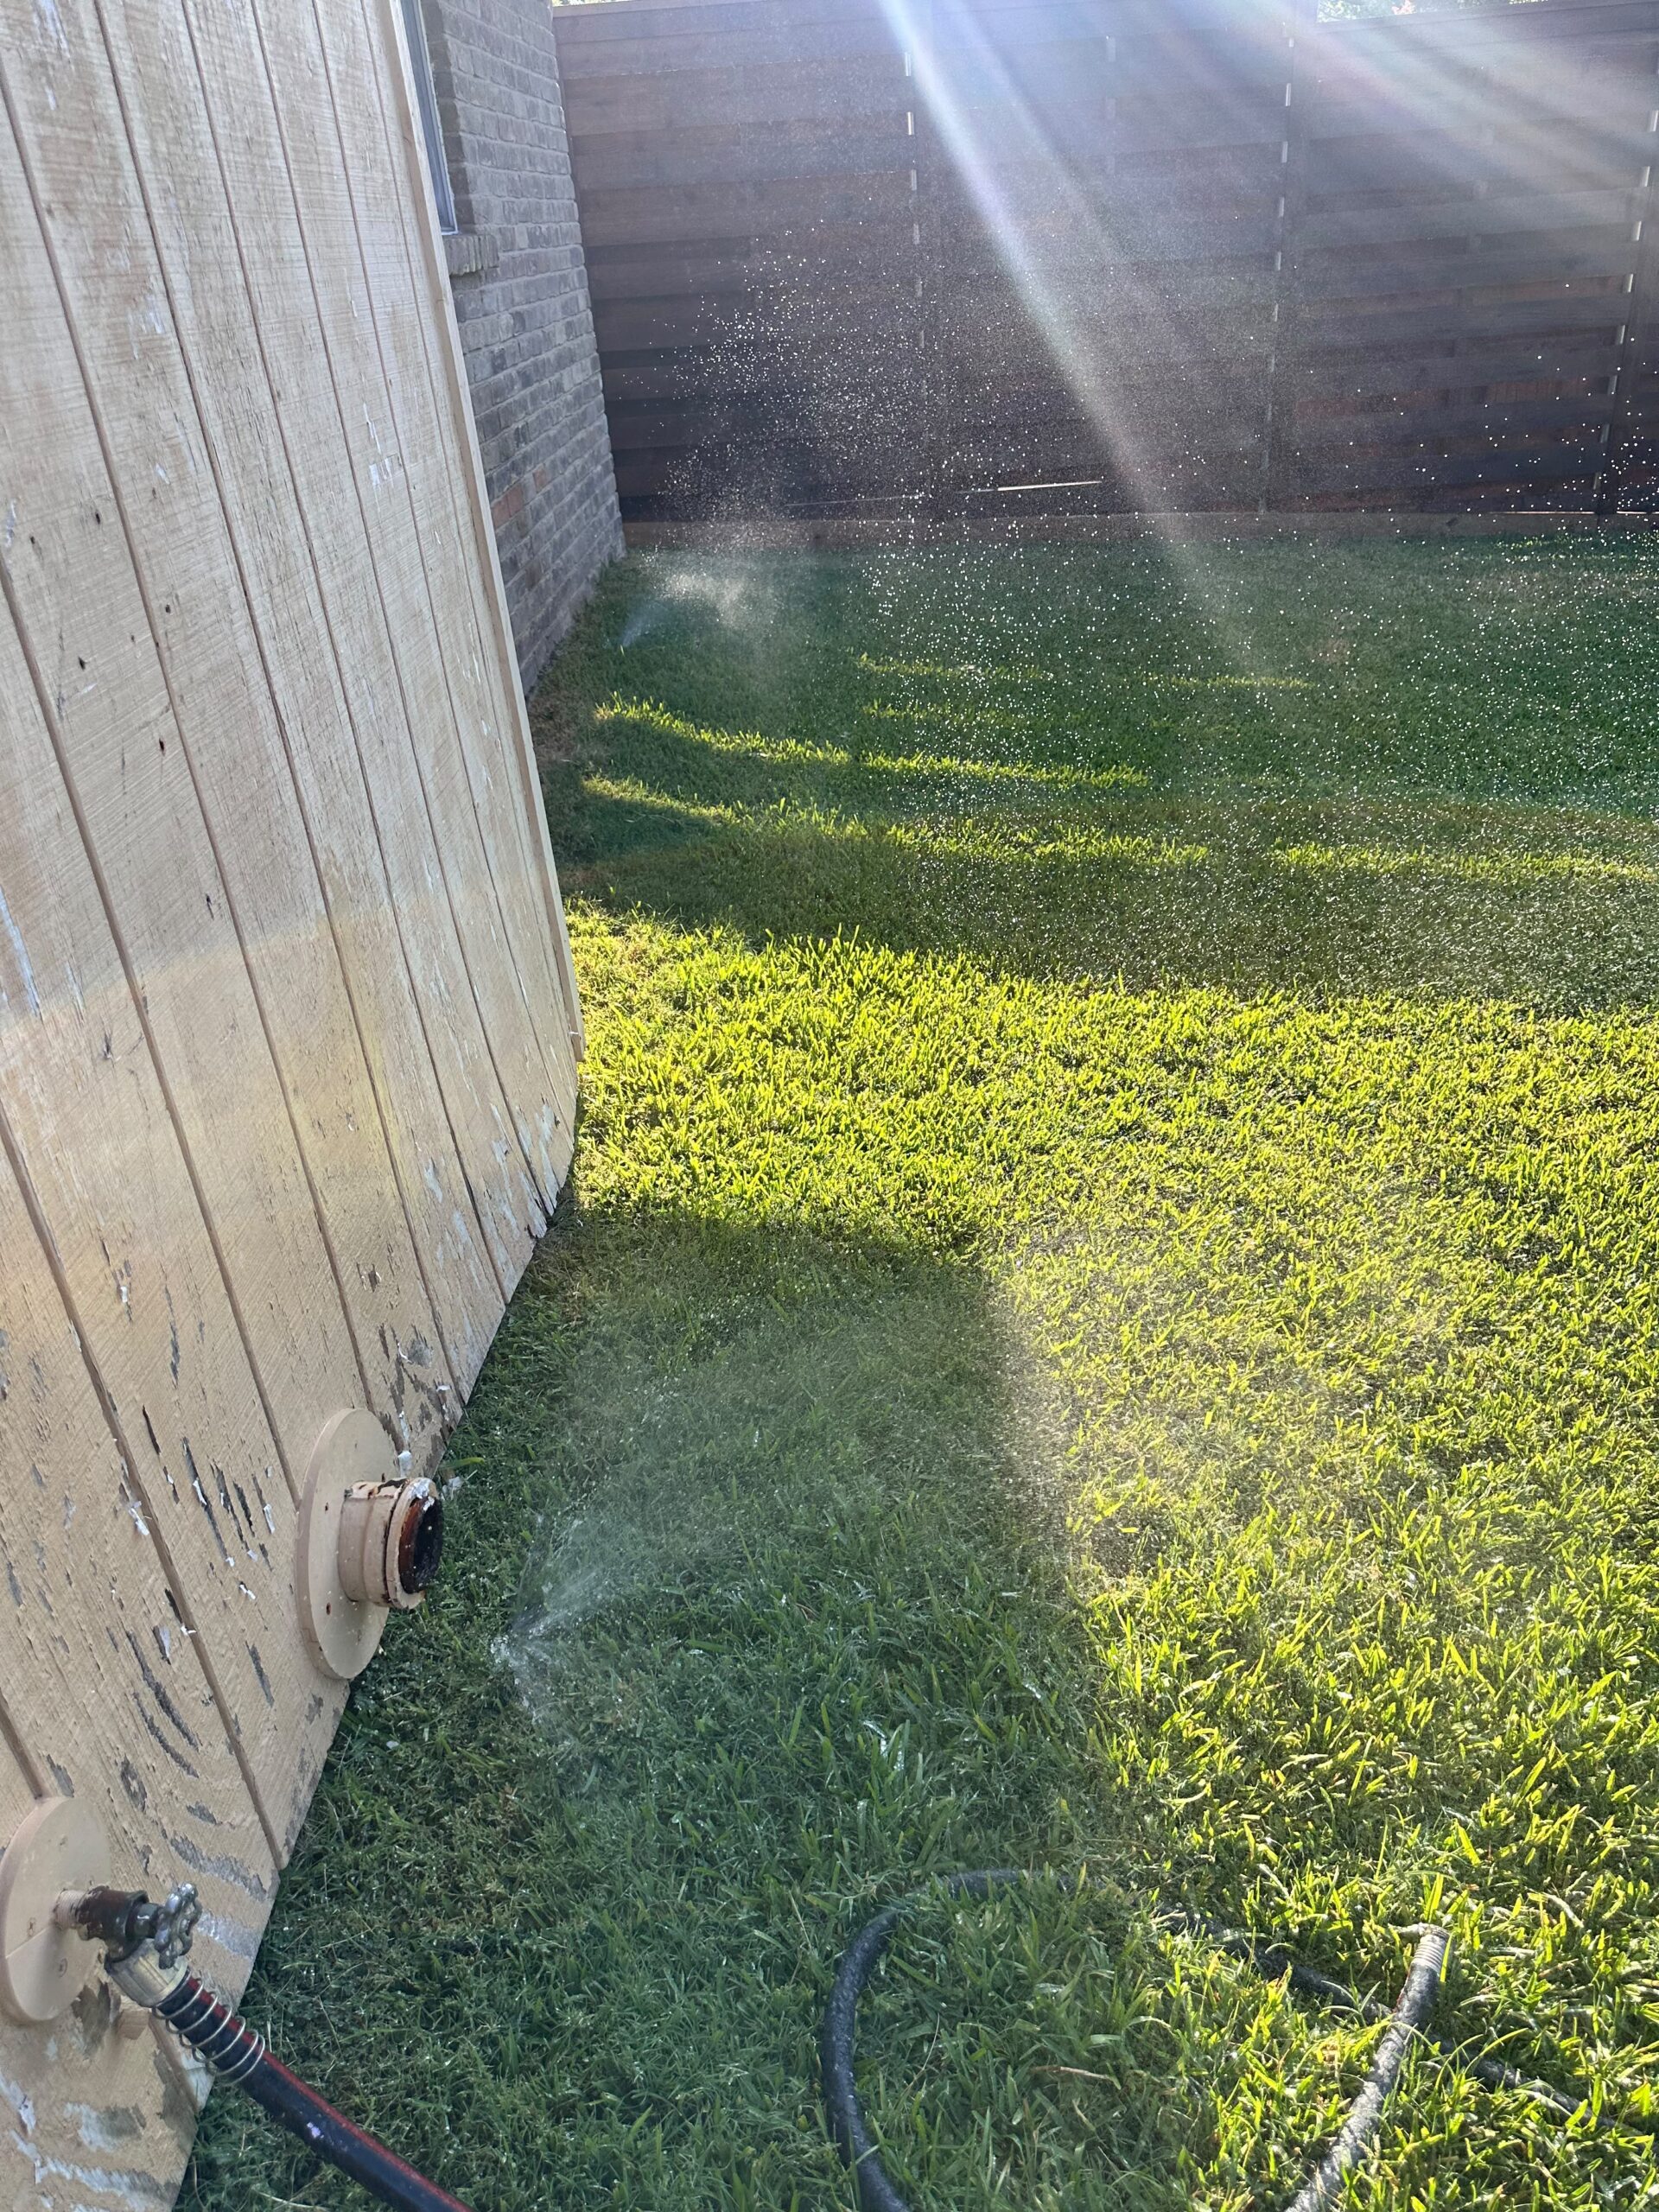
Controller troubleshooting in Fairview TX typically starts with checking the controller’s power source, verifying the wiring connections to each zone, testing whether valves respond correctly when a zone is activated manually, and reviewing the current programming for errors or outdated settings. The goal is to isolate whether the issue is coming from the controller itself, the wiring between the controller and the valves, or the valves and heads further out in the system. Most troubleshooting visits take under an hour and often reveal a simple fix, like a loose wire or a reset program, rather than a full controller replacement.
At a Glance
- Difficulty: Easy for basic checks, moderate to advanced for wiring diagnostics
- Estimated Time: 20–60 minutes depending on the complexity of the issue
- Tools Needed: Screwdriver, multimeter for wiring checks, notepad for tracking zone responses
- Works For: Controllers that won’t power on, zones that don’t respond, or programming that resets unexpectedly
- May Not Solve: A failed controller unit that needs replacement or major wiring damage underground
Why Controllers Need Troubleshooting
A sprinkler controller is the central point where scheduling, power, and wiring all come together. When something goes wrong, whether it’s a zone that won’t turn on or a schedule that keeps resetting, the cause could be inside the controller itself or somewhere in the connections leading out to the valves. Because so many parts rely on the controller working correctly, even a small issue can create symptoms that look bigger than they actually are.
Common reasons a controller needs troubleshooting include:
- A power outage or surge that reset or damaged internal settings
- A loose or corroded wire at the controller’s terminal connections
- A blown fuse or tripped breaker affecting the controller’s power supply
- A programming error left over from a previous adjustment
- A failed transformer inside the controller that powers the system
- Moisture or pest damage inside an outdoor-mounted controller enclosure
Because a controller sits at the center of the entire system, ruling out simple causes first, like a loose connection or an old program, is usually faster and cheaper than assuming a full replacement is needed. Many homeowners are surprised to learn that a controller showing no signs of life is often fixed with something as simple as resetting a breaker or replacing a small internal fuse.
What Happens During Controller Troubleshooting in Fairview TX
Power Check
The first step is confirming the controller is receiving power. This includes checking the outlet, breaker, or transformer, since a controller with no power will appear completely unresponsive, even if nothing else is actually wrong with the unit itself.
Display and Programming Review
If the controller powers on, the display is checked for error messages, and the current programming is reviewed for anything unusual, like a reset schedule or a zone that’s been accidentally turned off.
Wiring Inspection at the Controller
Wires connecting to each zone terminal are checked for looseness, corrosion, or damage. A single loose wire can prevent one zone from responding while the rest of the system works normally.
Manual Zone Activation
Each zone is manually activated directly from the controller to see whether it responds. This helps determine whether the issue is with the controller’s programming or something further down the line, like a valve or wiring fault.
Valve Response Testing
If a zone doesn’t activate, the valve itself may be checked to see whether it’s receiving a signal at all, which helps narrow down whether the problem is electrical or mechanical.
Fuse and Transformer Check
Some controllers include a replaceable fuse that protects the unit from electrical surges. A blown fuse can stop the controller from functioning even if the wiring outside is completely fine.
Step-by-Step: What a Troubleshooting Visit Typically Looks Like
Step 1: Confirm Power Supply
Check the outlet, breaker, and transformer to confirm the controller is receiving consistent power.
Step 2: Review the Display for Errors
Look at the controller’s screen for any error codes or warnings that point to a specific issue.
Step 3: Check Current Programming
Review the existing schedule to rule out a programming error before assuming a hardware problem.
Step 4: Inspect Wiring Connections
Check each terminal connection for looseness, corrosion, or visible damage that could interrupt the signal to a zone.
Step 5: Manually Test Each Zone
Activate each zone directly from the controller and note which ones respond and which don’t.
Step 6: Isolate the Fault
Based on which zones do or don’t respond, narrow down whether the issue is in the controller, the wiring, or a specific valve.
Common Mistakes Homeowners Make
- Assuming the controller is broken without checking power first. Many “dead” controllers are actually a tripped breaker or blown fuse, not a failed internal component.
- Overlooking a simple wiring issue. A loose terminal connection is one of the most common and easiest fixes to miss, especially on older systems.
- Resetting the controller without noting the old schedule. This can make it harder to restore settings if the reset doesn’t solve the problem and the original program is lost.
- Ignoring a single unresponsive zone. A zone that won’t activate often points to a specific, fixable issue rather than a failing controller.
- Replacing the whole controller too early. Many issues trace back to wiring or power rather than the controller unit itself, making a full replacement unnecessary in many cases.
Local Considerations for Fairview, TX
Controller troubleshooting in Fairview TX often needs to account for a few local factors that can influence both the cause of a problem and how quickly it needs attention:
- Clay soil: Much of Fairview sits on dense clay soil, and underground wiring in these conditions can occasionally shift slightly over time as soil expands and contracts.
- Heat: Extreme summer heat can stress a controller’s internal components, particularly if it’s mounted in direct sun without adequate shade or ventilation.
- Wind: Storms with heavy wind can sometimes cause power surges or outages that affect a controller’s programming.
- Water restrictions: Confirming the controller’s schedule still complies with current local watering guidelines is a good step to include during any troubleshooting visit.
- Seasonal watering: A controller that seems to malfunction may simply be running an outdated seasonal program that no longer matches current weather.
- Foundation movement: Homes on expansive clay soil may experience minor underground wiring shifts over time, which can occasionally contribute to a loose connection.
Related Problems That Can Look Similar
If troubleshooting the controller doesn’t resolve the issue, the cause may be something else in the system entirely. In these cases, the controller itself is often working correctly, but a related component is preventing the system from functioning as expected:
- A failing valve that isn’t responding even with a good signal from the controller
- Wiring damage underground, between the controller and a specific zone
- A rain sensor issue causing the controller to behave unexpectedly
- Low water pressure being mistaken for a controller or zone failure
If sprinklers seem to run at unexpected times, our guide on why sprinklers run during rain covers common causes related to sensors and settings. For broader scheduling questions, our article on what homeowners should change on their sprinkler controller each season walks through additional settings worth reviewing.
Frequently Asked Questions
How do I know if the problem is the controller or the wiring?
Manually testing each zone from the controller helps narrow this down. If one zone doesn’t respond while others do, the issue is often wiring or a valve rather than the controller itself.
Can a power outage damage my controller’s programming?
Yes. Power outages and surges can reset or, in some cases, damage a controller’s internal settings, especially on older units without reliable battery backup.
Is it normal for a controller to need occasional troubleshooting?
Yes. Controllers can develop issues over time from power surges, wiring wear, or programming errors, even without any obvious cause.
Do I need a professional for controller troubleshooting?
Basic checks like reviewing programming or confirming power are often doable by homeowners. Wiring diagnostics and valve testing are usually better handled by a licensed technician.
What if troubleshooting doesn’t find the problem?
If the issue isn’t isolated after checking power, wiring, and programming, a licensed sprinkler company can perform deeper diagnostics, including underground wiring tests.
Bottom Line
Controller troubleshooting in Fairview TX typically involves checking power, reviewing the programming, inspecting wiring connections, and manually testing each zone to isolate the cause. Most issues turn out to be simple fixes, like a loose wire or an outdated schedule, rather than a sign the entire controller needs replacing. Working through these checks in order is usually the fastest way to find the actual problem without guessing or replacing parts unnecessarily.
Conclusion
Controller troubleshooting in Fairview TX usually comes down to checking power, wiring, and programming before assuming the worst. Most issues turn out to be simple, fixable problems rather than a failed controller unit that needs full replacement. If you’ve checked the basics and a zone still won’t respond, or the schedule keeps resetting on its own, a licensed sprinkler company can run deeper diagnostics to find the cause. Reach out to schedule a troubleshooting visit today and get your system running reliably again.