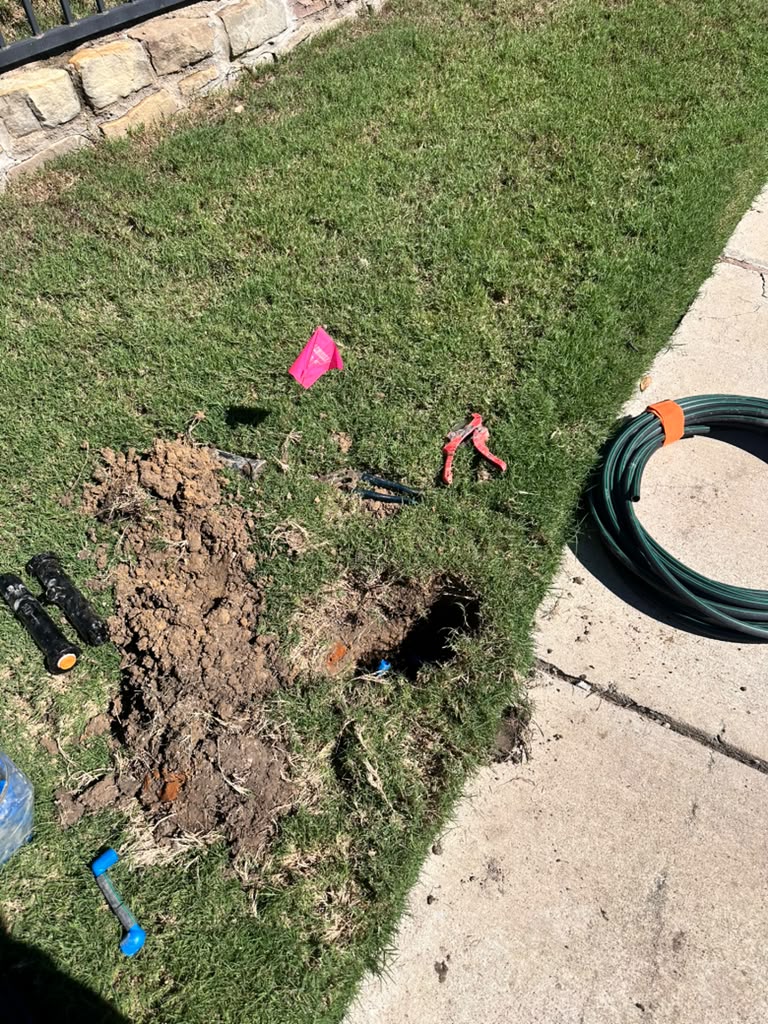
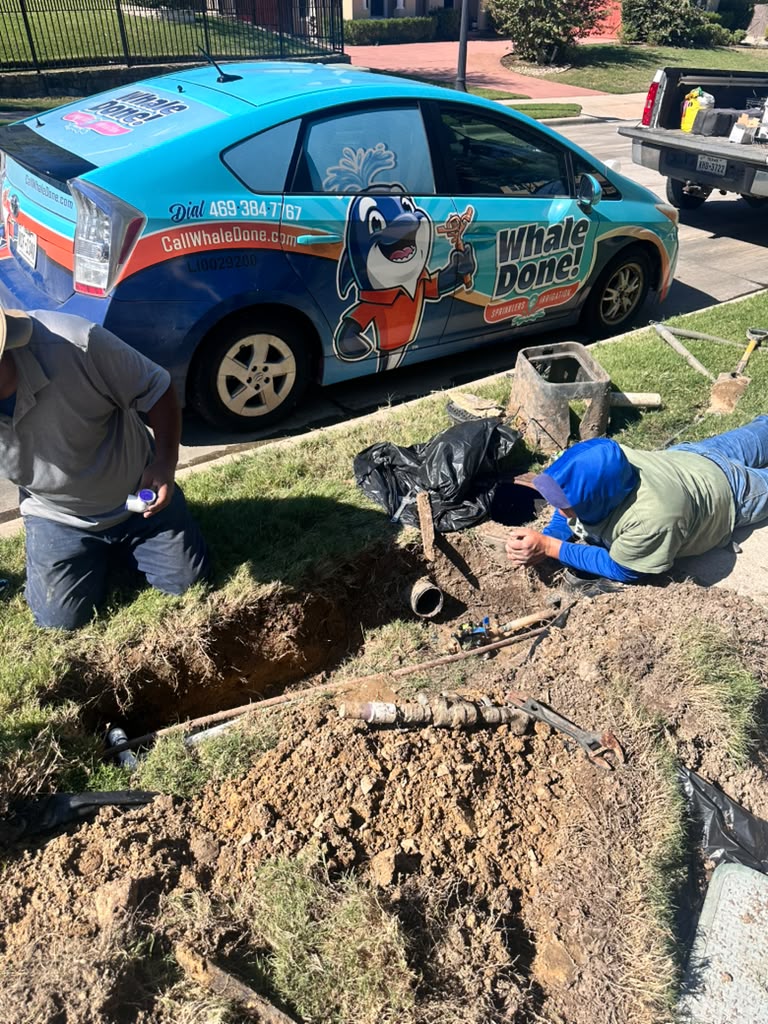
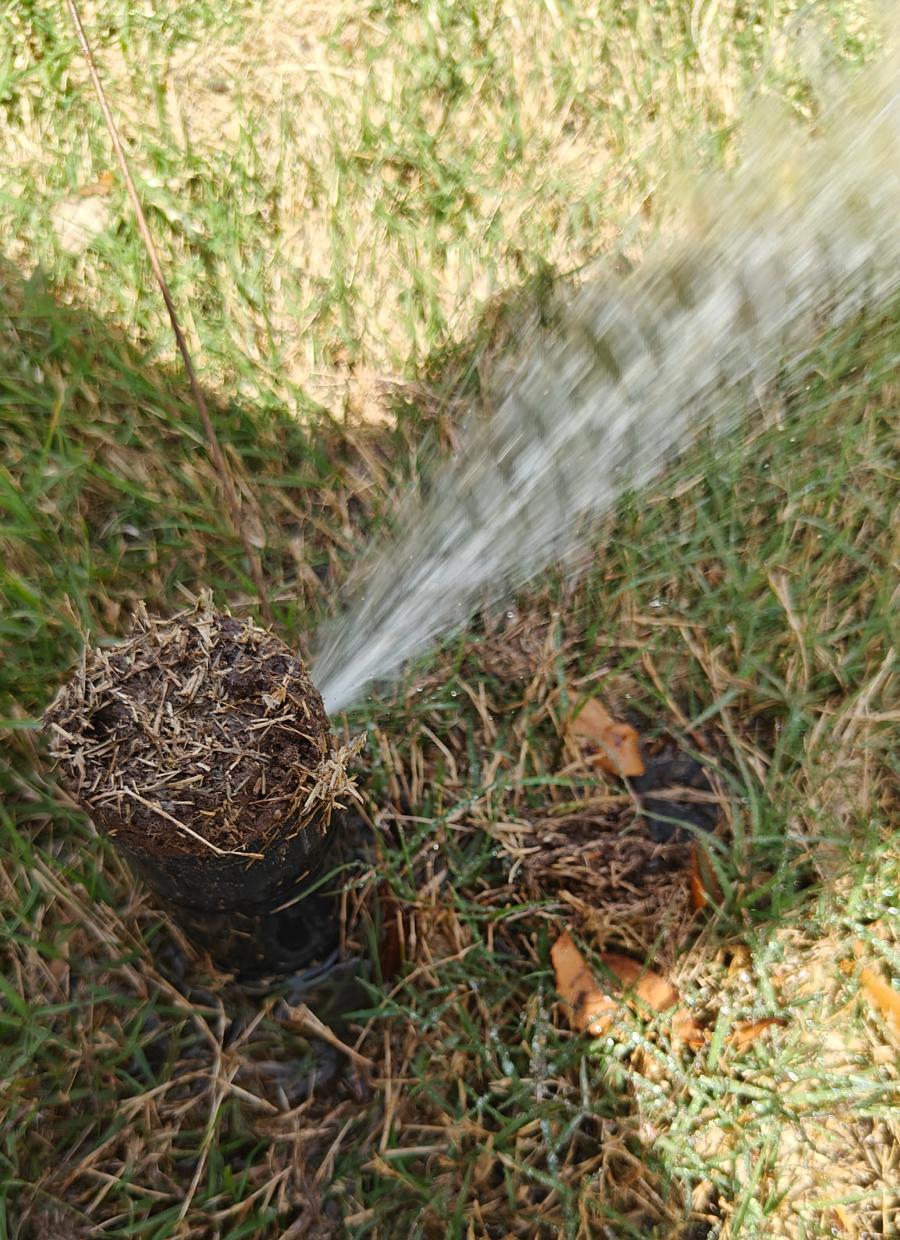
A sprinkler leak in Plano TX should be located before digging because the wet spot is often not where the break is. Water travels along pipe, gravel, and clay, so it can surface several feet from the source. Digging in the wrong spot damages turf, can hit other lines, and still leaves the leak unfixed.
A step-by-step test narrows the search first. Checking the water meter, the controller, each zone, and the water pressure usually points to the right area before anyone picks up a shovel.
At a Glance
- Difficulty: Easy for basic checks, more involved for pinpointing the break
- Estimated time: 30-60 minutes for homeowner tests
- Tools needed: Flashlight, phone camera, notes app, your water meter, controller manual
- Works for: Narrowing a leak to the main line, a single zone, a valve, or a head
- May not solve: Deep underground breaks, leaks inside valve boxes, or leaks hidden under pavement
Why Digging Blind Causes Problems
It’s natural to dig where the grass is soggy. The problem is that the soggy spot only shows where water reached the surface.
Digging in the wrong place can cause several issues:
- Torn-up turf: Large holes take time and money to repair.
- Damaged lines: A shovel can crack a healthy pipe or cut a wire.
- Missed leaks: The real break stays in place and keeps losing water.
- Utility risks: Other buried lines may be near your sprinkler pipe.
- Wasted effort: You may dig several holes before finding anything.
A few minutes of testing first usually saves a lot of digging later.
Signs You May Have a Leak
Leaks don’t always look like geysers. Many are slow and easy to miss.
- Soggy or mushy soil with no recent rain
- A sunken patch or small sinkhole in the lawn
- Lawn that is much greener in one strip
- Low pressure or weak spray from heads
- A water bill that jumped without a change in use
- Water sitting in a valve box
- The sound of running water when everything is off
Seeing more than one of these makes a leak more likely. It doesn’t tell you where the break is.
How to Find a Sprinkler Leak in Plano TX Before You Dig
Technicians usually work from broad to narrow. They rule out big areas first, then zero in on the problem. You can follow the same logic at home.
Step 1: Turn Off All Water Use
Shut off faucets, the dishwasher, the washer, and the ice maker. Make sure the sprinkler controller isn’t running a cycle.
Step 2: Read the Water Meter
Find the meter near the street, often in a concrete box. Look at the small dial or triangle. If it moves with everything off, water is going somewhere.
Step 3: Do a 15-Minute Meter Test
Write down the reading and wait 15 minutes without using water. Read it again. A changed number means there’s a leak somewhere, though not necessarily in the sprinklers.
Step 4: Shut Off the Irrigation Supply and Retest
If your system has its own shutoff, close it and repeat the test. If the meter stops moving, the leak is likely on the irrigation side. If it keeps moving, look at indoor plumbing, a toilet, or the service line.
Step 5: Check the Controller
Look at the schedule and make sure no zone is running unexpectedly. A zone stuck on, or a stray start time, can look like a leak. Set the controller to off and retest if you aren’t sure.
Step 6: Test Zone by Zone
Run each zone alone for a few minutes and watch the yard. Note geysers, mushy soil, bubbling water, and heads that keep dripping after the zone shuts off. A leak that only appears in one zone points to that zone’s pipe, valve, or heads.
Step 7: Watch Spray Strength and Pressure
Compare spray patterns between zones. A zone with weak spray, short throw, or misting may have lost pressure through a break. Many licensed companies also use a pressure gauge to measure what’s happening in the line.
Step 8: Check the Valve Boxes
Lift the lids carefully and look for standing water, hissing, or dripping. A leaking valve can look like a leak in the yard even though the pipe is fine.
Step 9: Mark What You Find
Use flags or photos to mark soggy spots and damaged heads. Write down the zone, location, and what happened when each zone ran. This record helps you or a technician narrow the search.
What Zone Testing and Pressure Tell You
Each test rules something in or out. Here is how the results usually read.
- Meter moves with irrigation shutoff closed: The leak is likely in the house plumbing or the service line, not the sprinklers.
- Meter stops when irrigation shutoff is closed: The leak is likely on the irrigation side.
- Leak appears only when one zone runs: The problem is likely in that zone’s pipe, valve, or heads.
- Leak appears with the system off: The break may be on a pressurized part such as the main line or a valve.
- Weak spray in one zone: The zone may be losing water through a break.
- Low pressure in every zone: The cause may be the main line, a valve, or your supply.
These are guides, not guarantees. A licensed company can confirm what the results mean for your system.
Main Line, Zone Line, or Valve?
Knowing which part leaks changes what happens next.
- Main line: Always under pressure, so it can leak even when the system is off.
- Zone lines: Only pressurized when a zone runs, so leaks appear during cycles.
- Valves: Can leak at the valve body, the connections, or inside the box.
- Heads and risers: Often the easiest to find and fix.
A leak on the main line usually shows up in the meter test. A leak on a zone line often shows up only when that zone runs.
When to Handle It Yourself and When to Call
Some checks are simple. Others need tools and training.
Usually manageable at home:
- The meter test
- Running each zone and watching for wet spots
- Looking in valve boxes
- Replacing a cracked spray head or nozzle
- Writing down what you find
May need a licensed professional:
- A meter that keeps moving after the irrigation supply is shut off
- Leaks near the foundation, slab, or sidewalk
- Pressure issues across several zones
- Leaks that don’t match a single wet spot
- Any repair that needs digging near other lines
Many homeowners find that the tests narrow the search enough to make the next step clear.
Before You Dig Anything
If you decide to dig, take a few precautions.
- Call 811 first: Texas has a free service to mark underground utilities before you dig. The Texas811 site explains how to request marking.
- Dig small: Start with a small hole near the suspected break.
- Use hand tools: A shovel can crack pipe, so go slowly.
- Turn off the supply: Shut off the irrigation water before digging near lines.
- Take photos: Document the area before and after.
If you aren’t sure where the lines run, a licensed sprinkler company can help locate them.
Common Mistakes Homeowners Make
- Digging in the wettest spot. The break may be farther along the pipe.
- Skipping the meter test. It’s one of the fastest ways to tell where to look.
- Ignoring a slow leak. Small leaks add up and can soften soil.
- Running the system to “see what happens.” Water keeps escaping while you watch.
- Assuming every wet spot is a sprinkler leak. It could be rain, drainage, or a plumbing line.
- Leaving a leaking zone on a timer. Each cycle wastes more water. See our guide on sprinkler leak detection.
North Texas Considerations
Plano’s conditions can make leaks harder to read.
- Clay soil: Clay holds water and spreads it sideways, so surface wet spots can sit away from the break.
- Foundation movement: Soil near the slab shifts more, so a leak there can add moisture to already moving ground.
- Heat: Summer heat dries surface water quickly, so wet spots may appear mainly at night or in the morning.
- Wind: Wind can mist water away from heads and hide small leaks.
- Freezes: Brief hard freezes can crack exposed fittings and valves.
- Water restrictions: Check current watering rules with the City of Plano before running test cycles, since leaks still waste water within the rules.
The EPA’s Fix a Leak Week resources explain how small leaks add up to a lot of wasted water. Irrigation leaks are no exception.
Related Problems That Look Like a Leak
Not every wet spot is a broken pipe. If you don’t find one, the cause could be:
- Poor drainage: Low spots can hold water after rain.
- A stuck valve: A valve that doesn’t close can keep water flowing. Learn more about sprinkler valve repair.
- High water pressure: Excess pressure can cause misting and leaks at the heads.
- Controller problems: A faulty schedule can overwater a zone.
- Indoor plumbing: A running toilet or leaking hose bib can move the meter.
- A damaged head: See our article on sprinkler repair in Plano TX.
Frequently Asked Questions
Why shouldn’t I just dig where the ground is wet?
Water can travel along the pipe and through clay before it reaches the surface. The wet spot may be several feet from the actual break. Testing first helps you dig in the right place.
How can I tell if the leak is in my sprinklers or my house?
Do a meter test, then close the irrigation shutoff and test again. If the meter stops moving, the leak is likely on the irrigation side. If it keeps moving, check indoor plumbing or the service line.
What does testing zone by zone show?
It shows which zone has the problem. If a wet spot or weak spray appears only when one zone runs, the leak is likely in that zone’s pipe, valve, or heads.
Do I need to call 811 before fixing a sprinkler leak?
Calling 811 is a good idea before any digging. It’s free and marks underground utilities so you can avoid hitting them. Sprinkler pipes are often shallow, but other lines may be nearby.
Can a small leak wait?
Sometimes. A leaking head on a zone that is shut off may be able to wait, but a moving water meter or wet soil near the foundation shouldn’t. Testing helps you decide.
Conclusion
A sprinkler leak in Plano TX is much easier to fix once it has been located. Test zone by zone, watch your water meter, and check the controller before anyone picks up a shovel. Call 811 before digging, and write down what you find. If the source still isn’t clear, a licensed sprinkler company can test the system step by step and explain your options. Our goal is to educate first.